| « 2025-11-23 | Tinkering | 2025-10-23 » |
Tinkering: 2025-11-02: Simon #3.8 Shirt
 This is my tenth shirt, numbered 3.8.
3.x is a series of shirts to get the pattern just right, and the result are shirts 3.7 and 3.8. All other 3.x are/were true test shirts that don't survive.
The pattern for this shirt was constructed again using Freesewing's Simon. But there were limits of what the pattern generator can do, so during the 3.x series, I started to do changes manually.
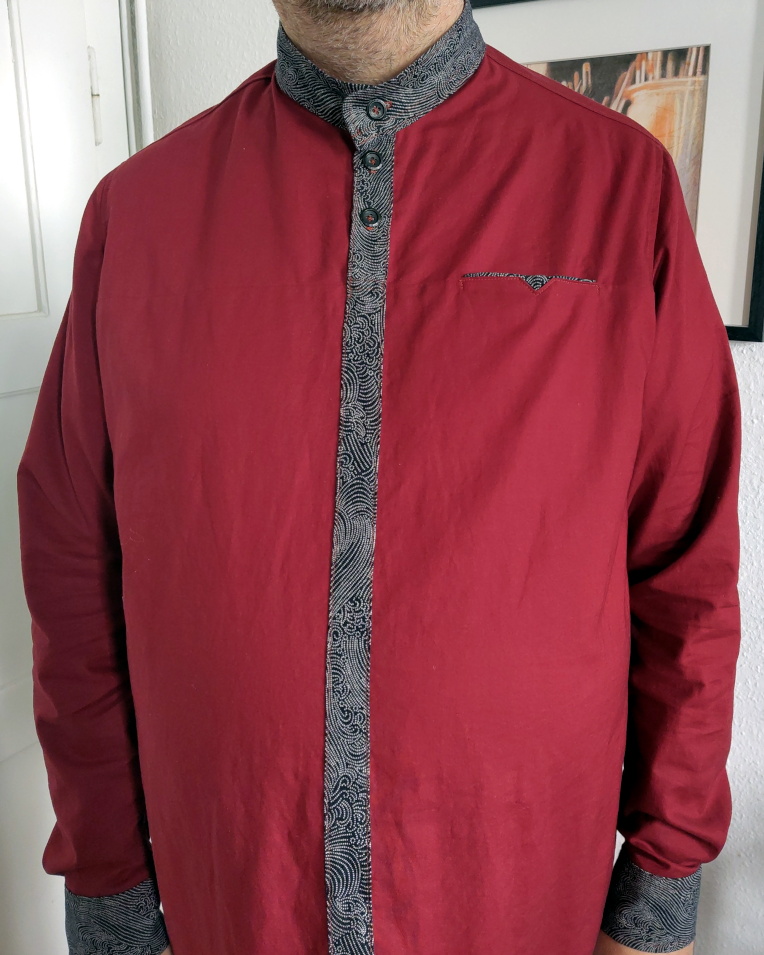
The camera does not manage to depict the colour right. This shirt is a medium dark wine red, and a different fabric than Simon #1.
Oh, and I also extended the dictionary a bit.
 First let's list the major manual modifications to get the fit right. These all have to
do with the neck opening, which was a pain to get right, and the Simon pattern
did not have the right options to correct it. So I had to:
First let's list the major manual modifications to get the fit right. These all have to
do with the neck opening, which was a pain to get right, and the Simon pattern
did not have the right options to correct it. So I had to:
- use my own 'neck tilt' option to make the collar longer only in the front,
- cut a 2cm strip horizontally from the front and insert 2cm accordingly into the back. Each cut was done where the arm opening curve is vertical. This puts the neck opening where it is supposed to be (for me), and makes the front 4cm shorter than the back, while keeping the armscye the same length.
The 2cm strip moved from front to back is a result of much thinking and comparing other patterns. Simon's front and back have the same length. But I read in other places that the back should be '2cm to 6cm' longer than the front. Many shirt patterns I looked at had a longer back than front. Also, when trying on an intermediate stage of shirt 3.5, when the collar was already attached but the side seams were not yet closed, we noticed that the front bottom edge was 4cm lower than the back bottom edge. The collar fit was good, but after closing the side seams, the collar was awful, pulling on my throat, and the shirt did not survive for a minute. From this, the 2cm strip transfer was derived. Shirt 3.7 (also a survivor) uses a working but clearly less successful attempt to move the neck opening by modifying the front and back yokes' neck line.
On the resulting shirt 3.8, I can even pull down the back a bit without the throat being squeezed, as the shirt really sits on the shoulders where it naturally wants to sit.
I could obsess more over the neck opening, but I'll call it OK for now and conclude the 3.x series. However, I will try to get a few more wrinkles out in the future, which, I think, can be done by fixing the shape of the neck opening without changing the collar length.
 Now for the second list, with the minor and style changes.
All of these are easy and more like postpass optimisations
than real modifications to the pattern.
Now for the second list, with the minor and style changes.
All of these are easy and more like postpass optimisations
than real modifications to the pattern.
- make the front a contiguous piece on the bottom, without buttons
- have a split front yoke
- have a front two-sided placket for a split bottom (inside the trousers), a split top with two buttons, and a fake button (hole) placket in between (just for show),
- have a standing collar, i.e., actually no collar, just a collar stand,
- move the shoulder top seam 2cm to the front, i.e., cut 2cm off the front and glue that to the yoke,
- smooth out the yoke neck line after adding the moved 2cm front pieces,
- do the shoulder top seams in a slight 'C' curve, i.e., insert more fabric (maybe 6mm in the middle) from the front into the yoke in each shoulder top seam, to help remove fabric where my suspenders push down and the shoulders have a dent.
- move the back box pleats to the outside, 3cm from the armscye seam. I like this style of pleats much more than centered pleats.
- move the sleeve cuff pleats to the side, 4cm and 7cm from the edge.
- use my own placket generator for all the plackets
- add an in-seam pocket
 I think the combination of fabrics in this shirt is stunning. I love it. We
found this Japanese wavy line fabric in dark blue/bluish black with white dots,
and we fell in love.
I think the combination of fabrics in this shirt is stunning. I love it. We
found this Japanese wavy line fabric in dark blue/bluish black with white dots,
and we fell in love.
At the time, the shirt was already half-done and it already had details from a different fabric (with random digits and numbers, black on white), but I was unhappy with them, as the shirt looked like a clown's costume. So then I removed all these details and replaced them with the new Japanese fabric. And it totally changed into an ornamental shirt.
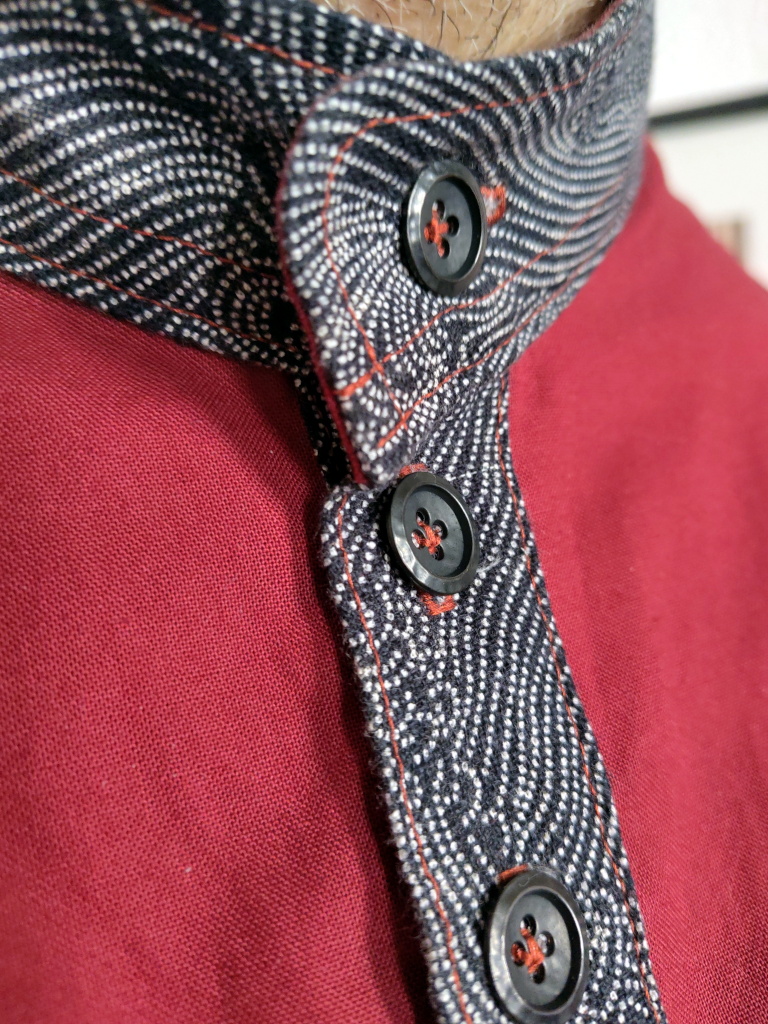
What can also be seen in this picture is that the collar needs some refinement to get it horizontal – the fabric at the top of the buttonhole placket is also folded weirdly.
Actually, all my shirts, I think, have this flaw. It seems to be me. I will address that in the next shirt, and maybe I'll replace the collar on this one once I am satisfied.
 Yes, I like this combination of fabrics.
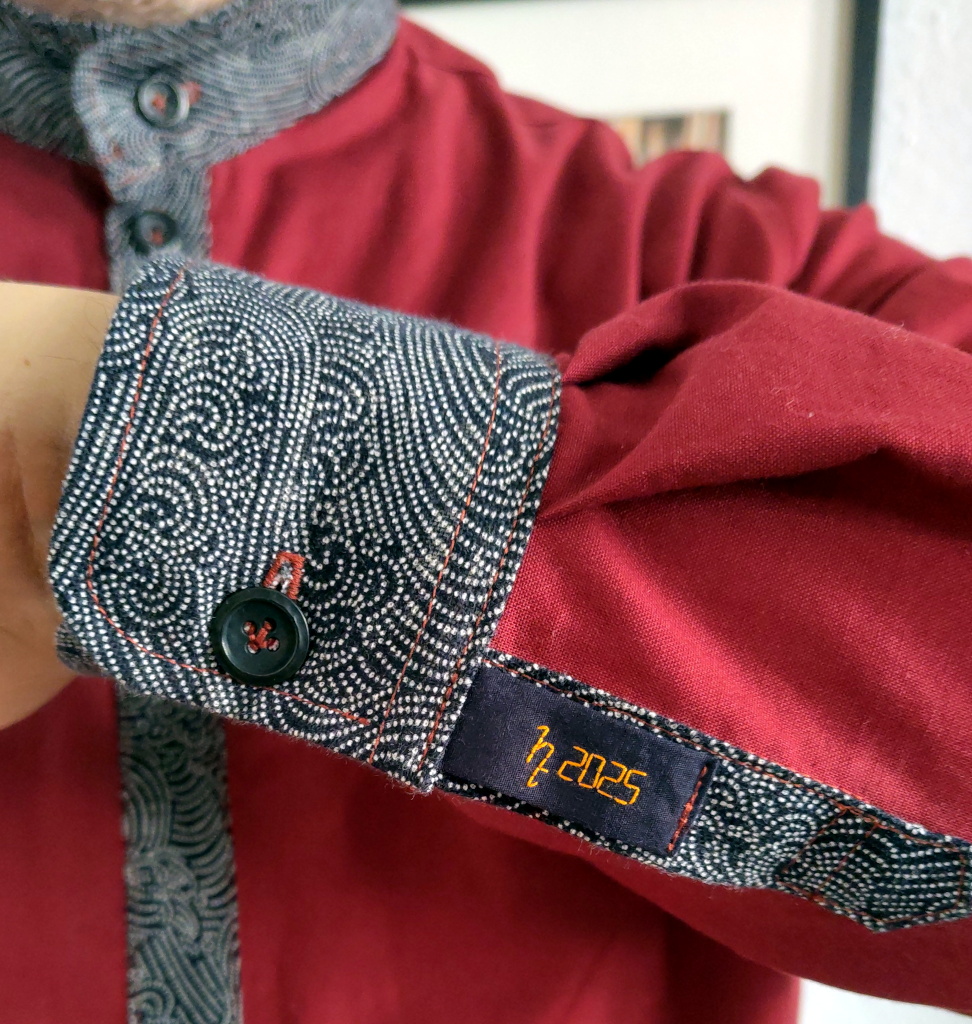
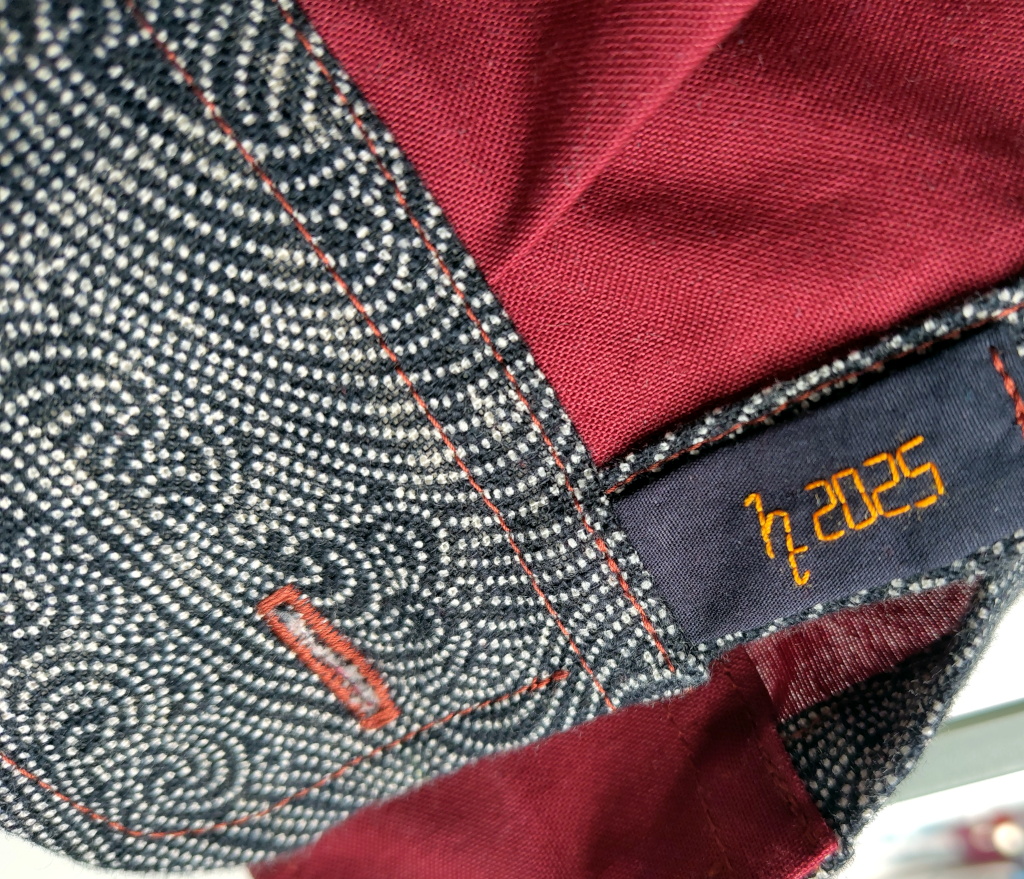
And again, the shirt has my hand-stitched logo!
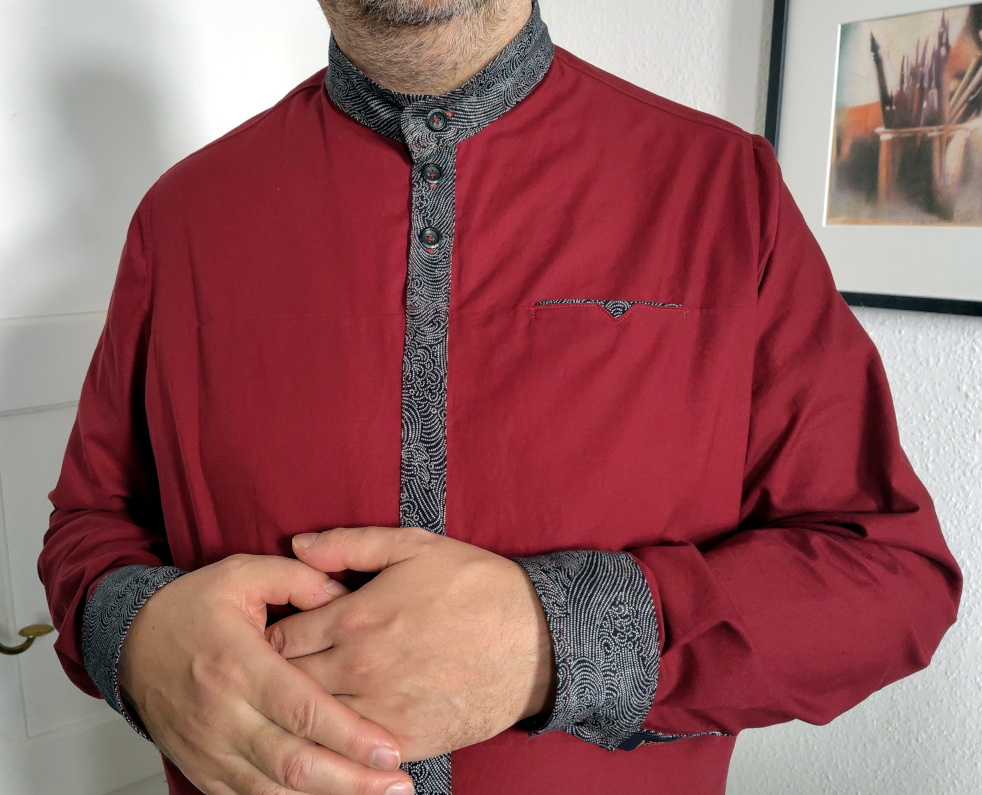
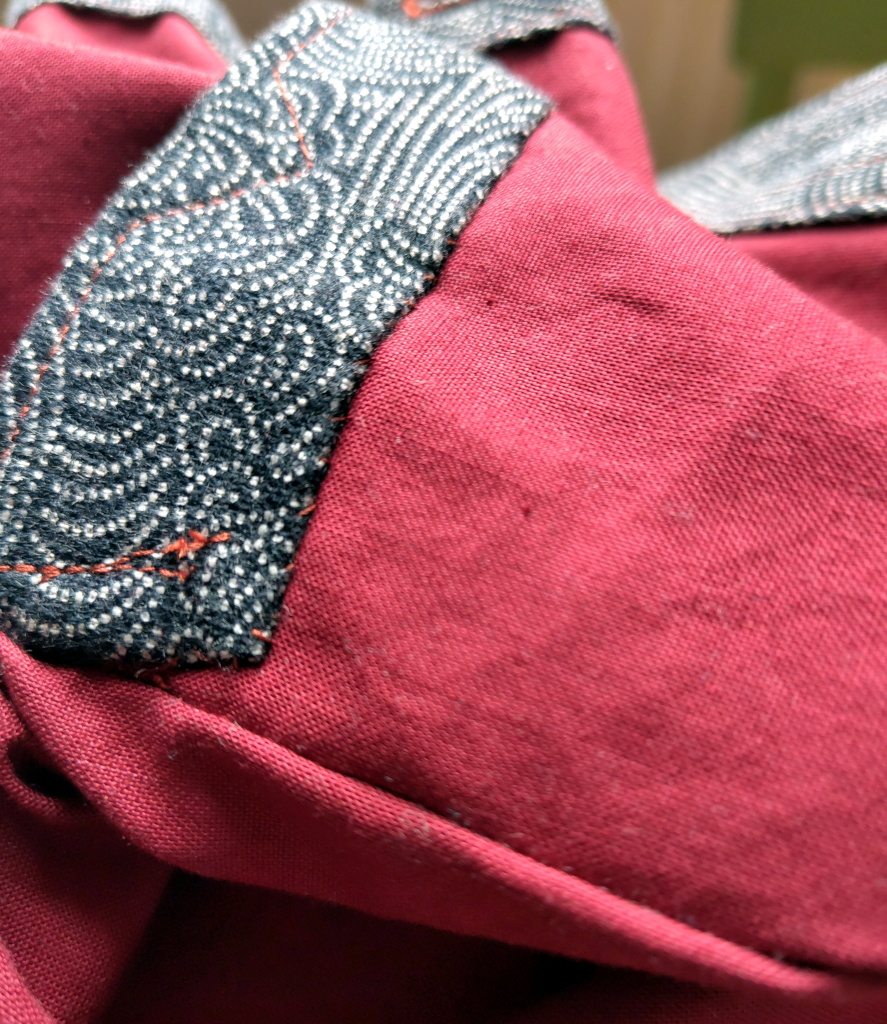
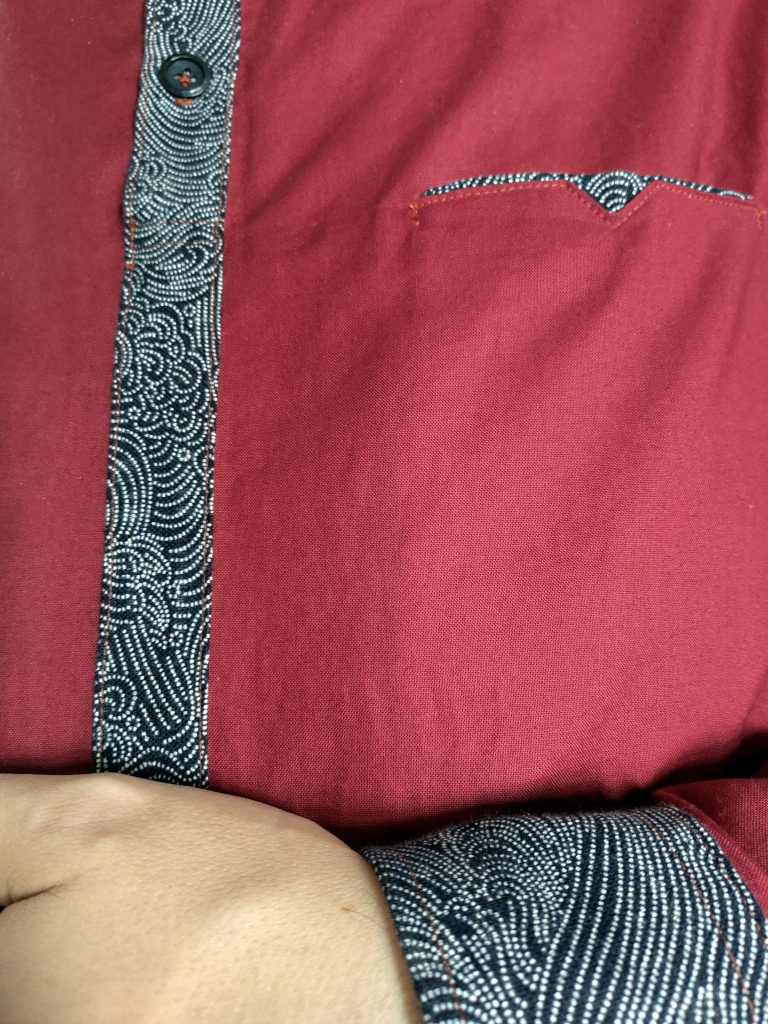 One speciality of this shirt is the pocket. Because this shirt has a front yoke,
the pocket can be inserted into the seam. The pocket fabric is
actually part of the bottom and top fabric pieces.
One speciality of this shirt is the pocket. Because this shirt has a front yoke,
the pocket can be inserted into the seam. The pocket fabric is
actually part of the bottom and top fabric pieces.
And I couldn't help but play around to add a triangular corner and a piece of ornamental fabric.
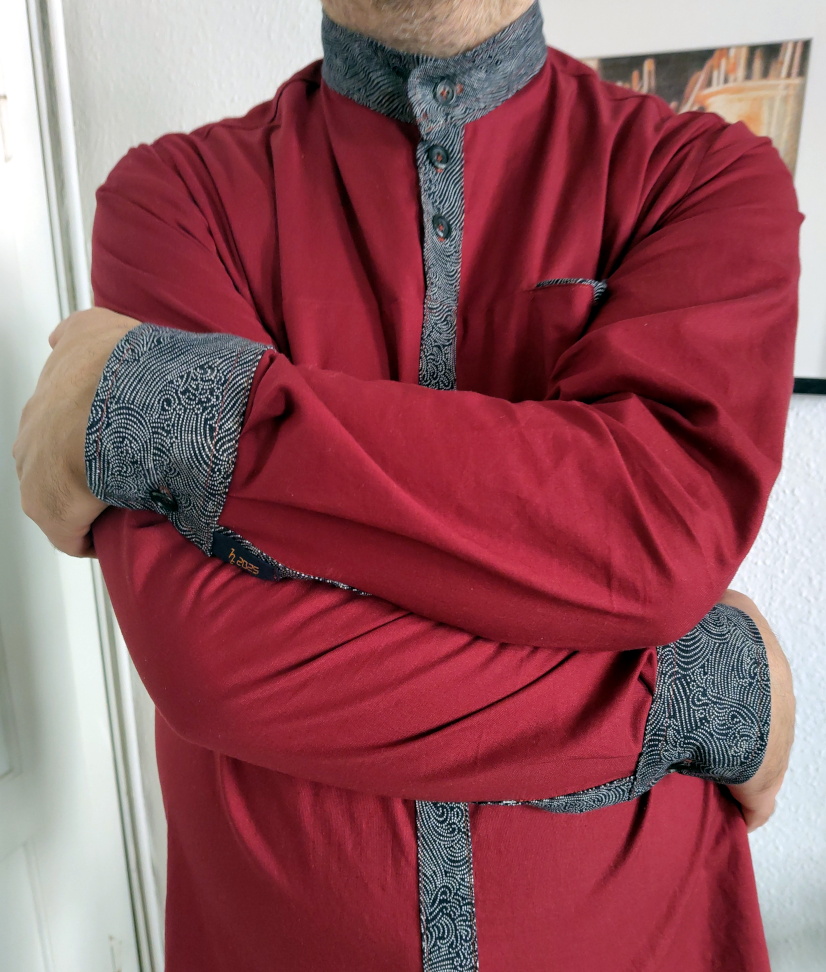
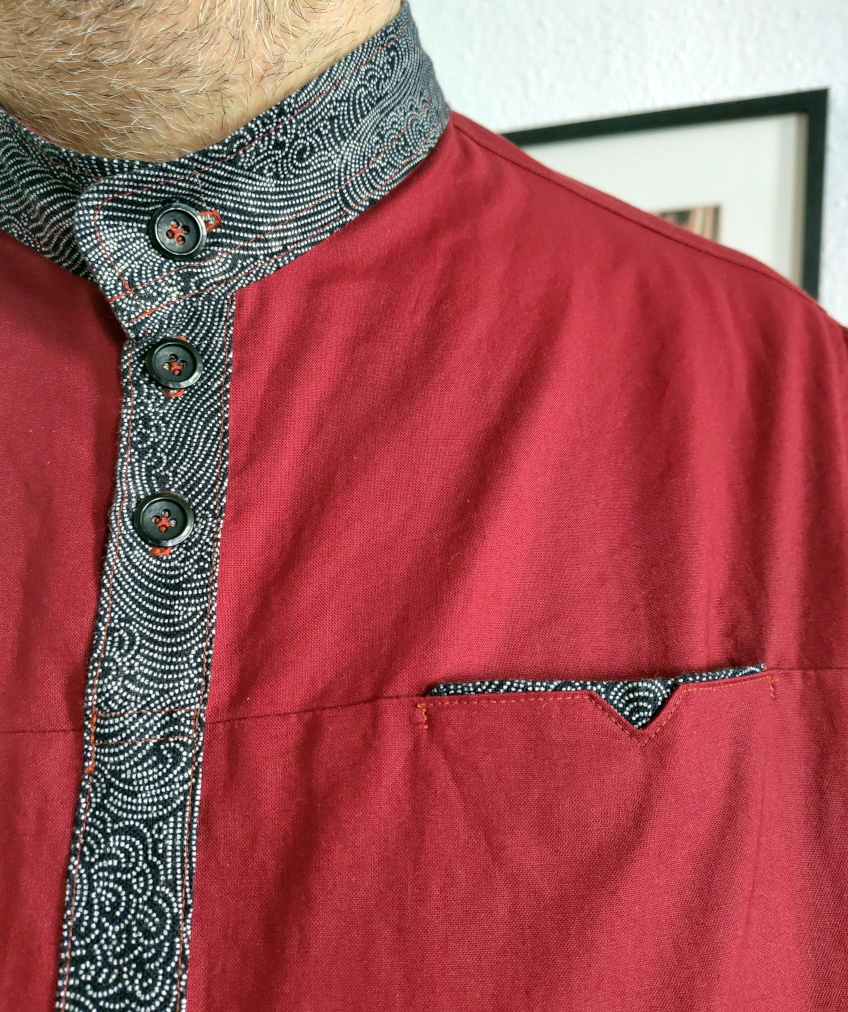 Here are the front details again. The collar is clearly not horizontal. But I still
like the shirt.
Here are the front details again. The collar is clearly not horizontal. But I still
like the shirt.
The buttons are metal buttons which are also nice, I think, because they are bluish black like the fabric.
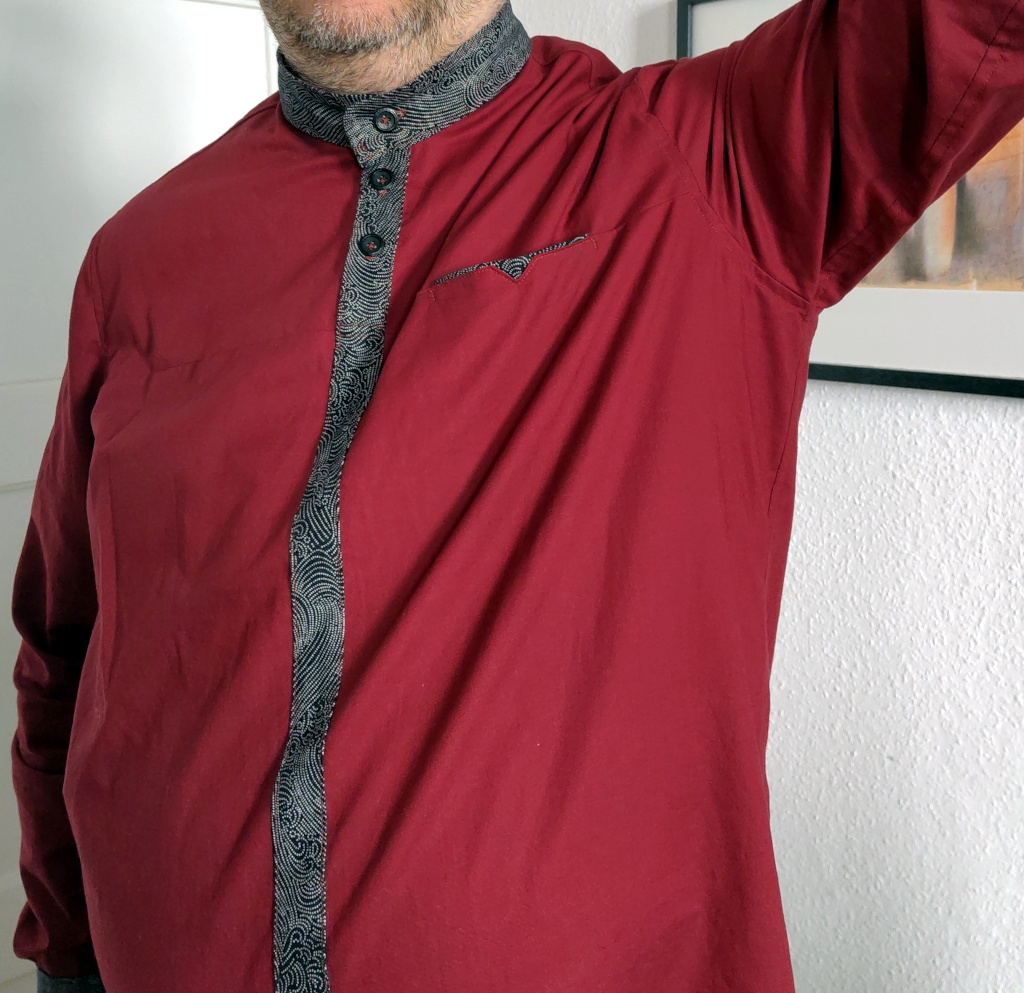 What I also achieved in shirt series 3.x is a good freedom of arm movement.
Of course there are wrinkles, but the shirt does not restrict my movements, even when tucked into the trousers.
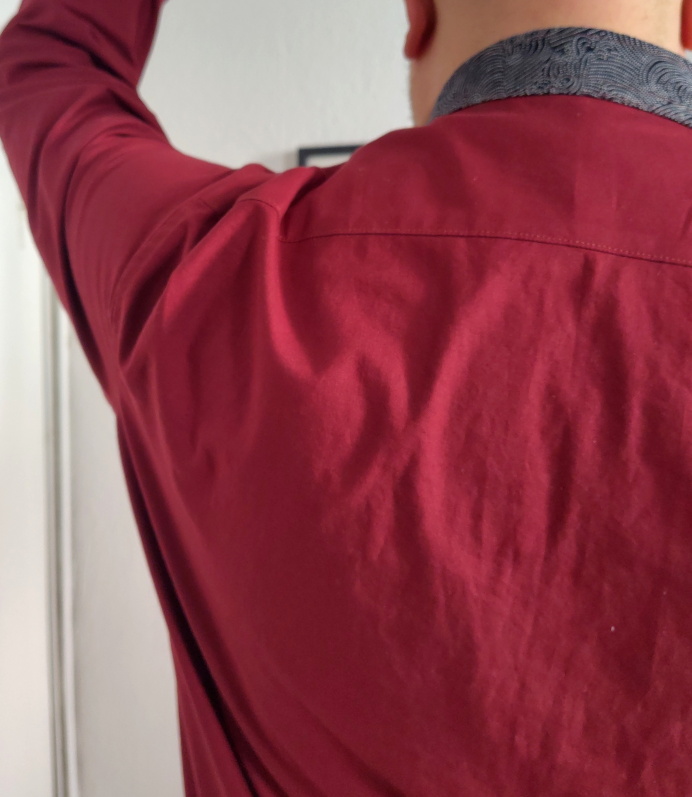 Movement is also OK on the back – no problem.
 This is a view of the back pleats that were moved from the center box pleat
to the side, close to the armscye. I find the back very clean this
way, despite providing 4cm of additional width in the pleats.
This is a view of the back pleats that were moved from the center box pleat
to the side, close to the armscye. I find the back very clean this
way, despite providing 4cm of additional width in the pleats.
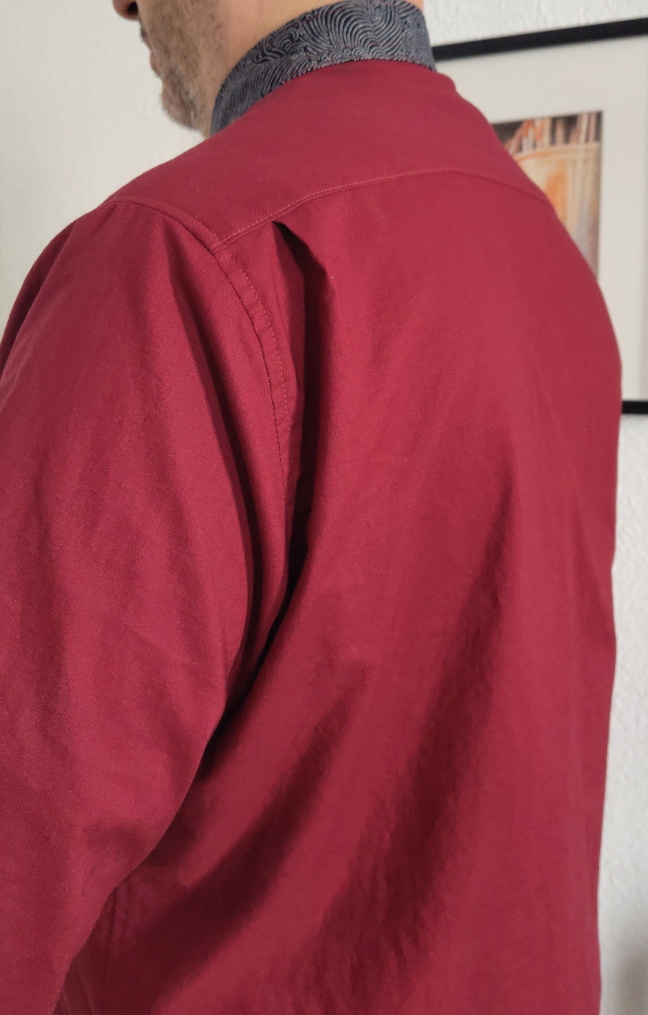
 When I move my arms and shoulders forward, the additional back length
is used up, but it is not too much stress, but it just works.
When I move my arms and shoulders forward, the additional back length
is used up, but it is not too much stress, but it just works.
 It is when I do this forward movement when the back pleats are needed.
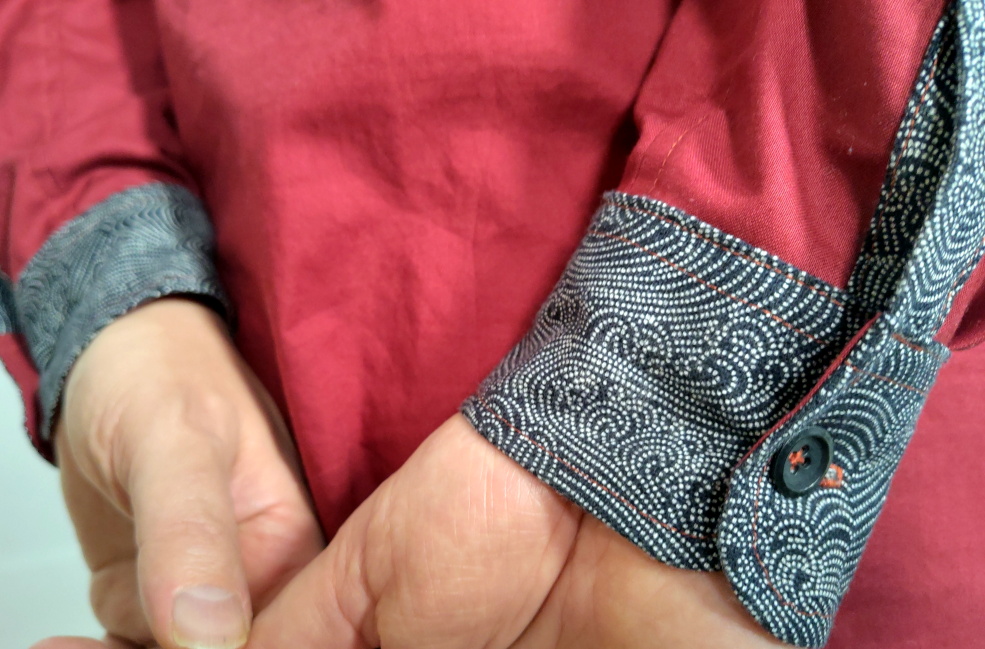 Some cuff details when my hands are behind my back. I really like that
fabric.
Some cuff details when my hands are behind my back. I really like that
fabric.
 Like with the collar, the cuffs were also cut and mainly pressed on a bias
so that the inner fabric comes out slightly shorter on all sides, in order
to hide better behind the outer fabric.
Like with the collar, the cuffs were also cut and mainly pressed on a bias
so that the inner fabric comes out slightly shorter on all sides, in order
to hide better behind the outer fabric.
No different cut is used for this, but the inner fabric is just pressed while pulled a bit before sewing, i.e., is sewn in while slightly stretched (it will be on the inside curve, so it's fine to shrink again later), and then before edge-stitching it, the cuff is pressed such that the outer fabric lays a bit wider. The edge stitch will then make this bias permanent.
 What I also did here was use a needle to pull all thread ends into the inside, i.e.,
there are no thread ends visible at any stitch start or end. This makes the seams
look very clean, I think.
What I also did here was use a needle to pull all thread ends into the inside, i.e.,
there are no thread ends visible at any stitch start or end. This makes the seams
look very clean, I think.
The buttonhole is a bit of a mess, because I am not doing them manually.
 These are the cuff pleats moved to the edge at 4cm and 7cm from the edge.
This makes the edge bulkier, but also hides the bulk better on the sleeve top.
 Using a red thread for all the seams was a brave decision, but it adds even
more depth to the details, I think.
Using a red thread for all the seams was a brave decision, but it adds even
more depth to the details, I think.
The front side of the button hole is actually not too badly done by the machine.
 Despite being a pain to sew, I am also happy with the armscye flat-felled seams
now, and also with the edge stitching on the back yoke and the shoulder
top seams.
Despite being a pain to sew, I am also happy with the armscye flat-felled seams
now, and also with the edge stitching on the back yoke and the shoulder
top seams.
For me, the armscye seams are the most difficult and stressful. To take the stress out of them, I baste these flat-felled seams twice, once for each of the two stitch lines. And actually, for the first of the two stitch lines, I use clamps first and then baste them, and I do that in three steps: twice from the bottom to the front and to the back notches, and then the very rounded top part between these notches.
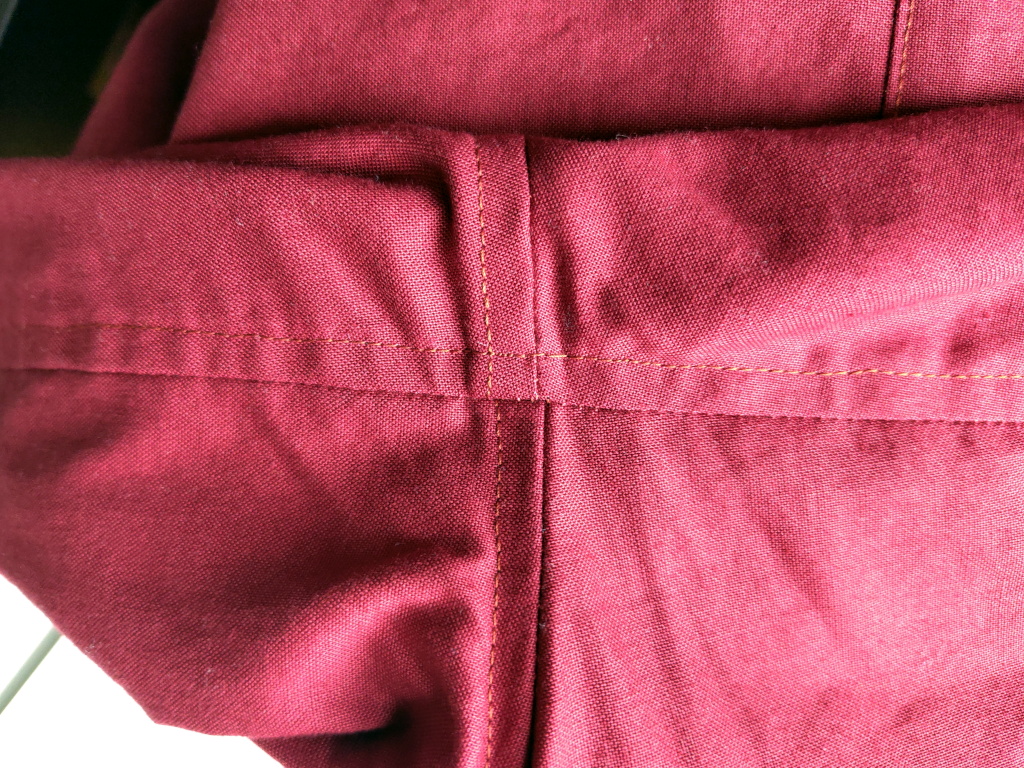 The underarm seam crossing also came out OK. For the fabric I used,
it got so bulky here that my sewing machine needed some help in the
form of pushing and
pulling the fabric slighly, because the transporter would not
work anymore.
The underarm seam crossing also came out OK. For the fabric I used,
it got so bulky here that my sewing machine needed some help in the
form of pushing and
pulling the fabric slighly, because the transporter would not
work anymore.
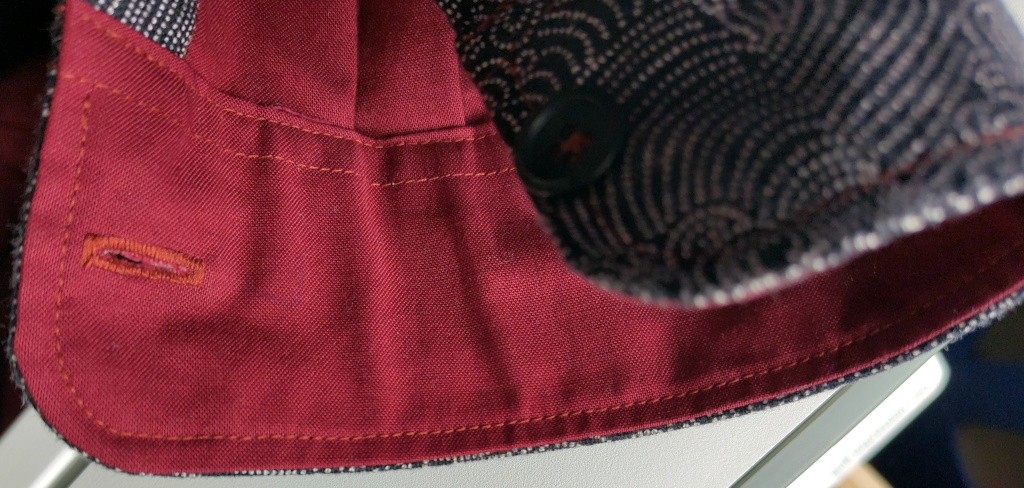
 Now let's look at the inside. I wanted a clean inside, too, so the front
yoke and the pocket edges are done with a French seam, hiding away any open
edges without serging.
Now let's look at the inside. I wanted a clean inside, too, so the front
yoke and the pocket edges are done with a French seam, hiding away any open
edges without serging.
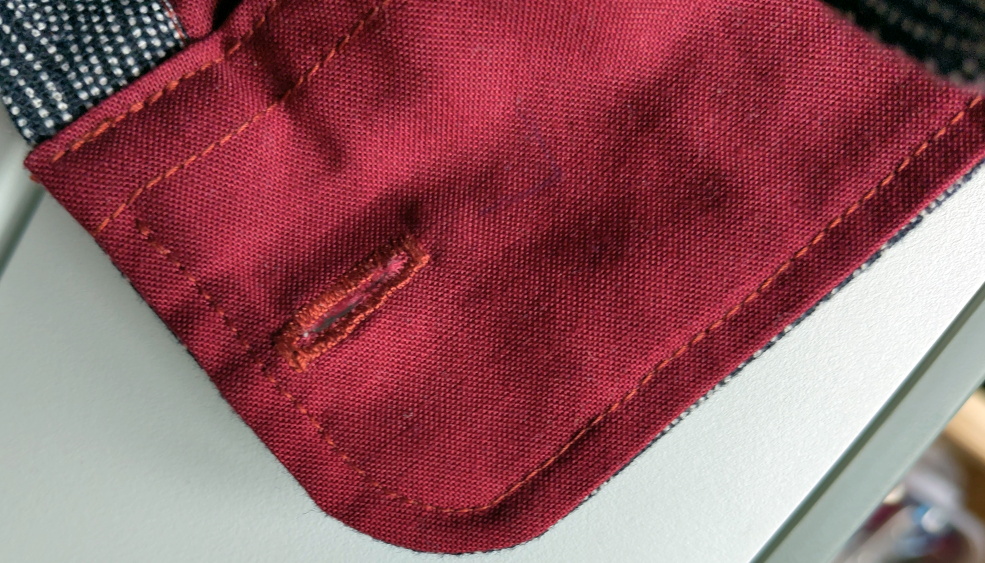
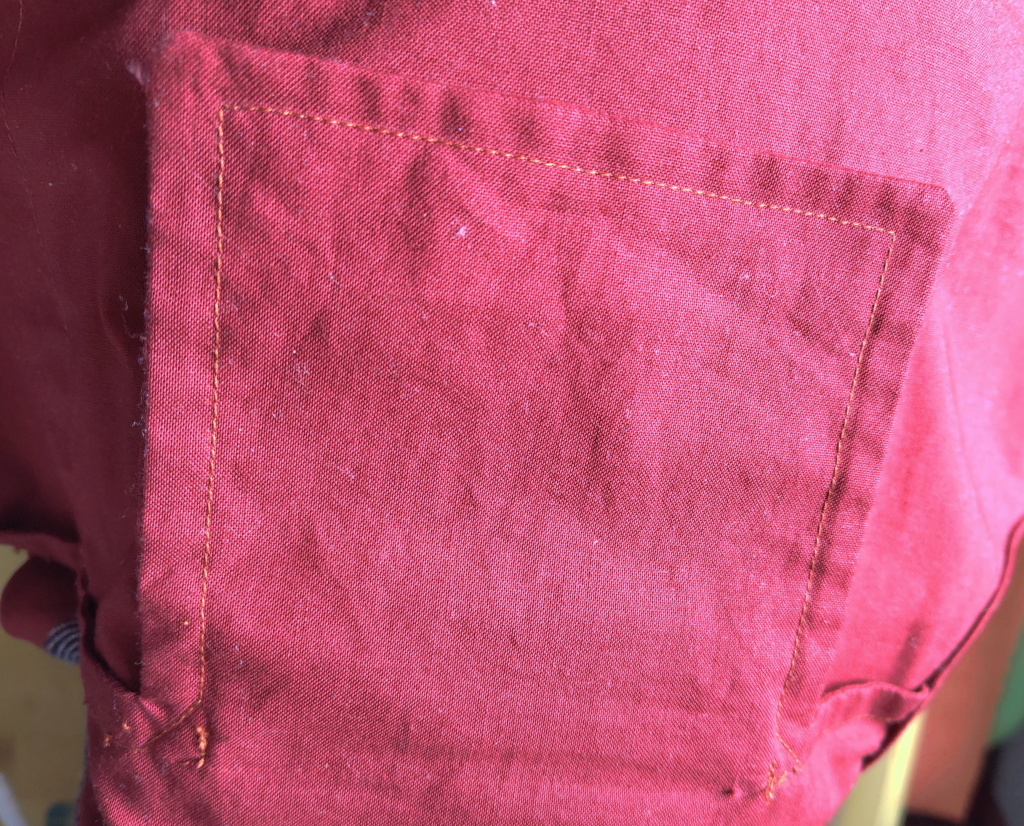
 This is the inside of the pocket, which is also nice thanks to the French seams.
As mentioned, I had to exchange the details later after having found that much nicer fabric. But I did not want to open that French seam again, because its seam allowance was cut back significantly, making resewing quite difficult. As a consequence, I could not attach the pocket detail with the same method, because it can only be done before the French seam. Therefore, I had to hand-fell the bottom side with a few stitches.
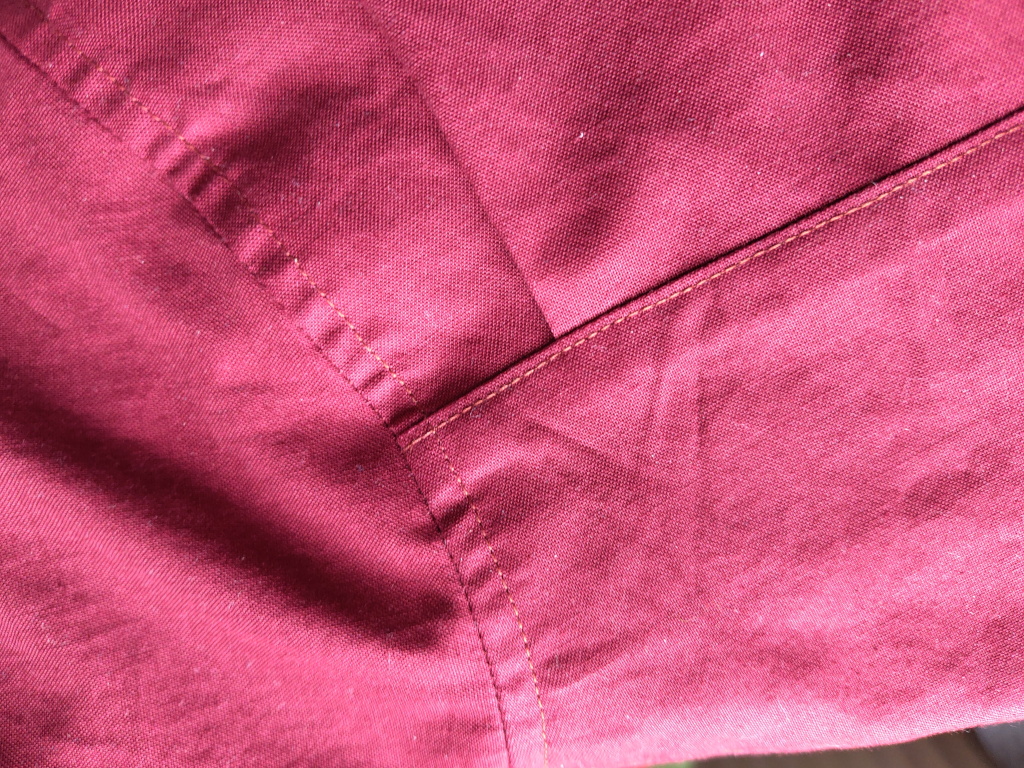
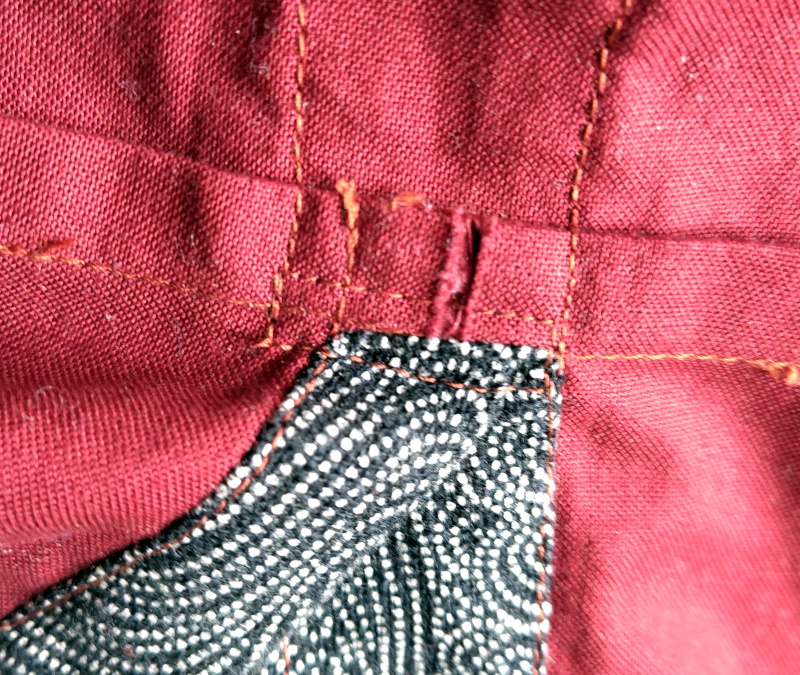 And this is a bit of a crime. It is the backside of where the front
bottom, the two front yokes, and the button and buttonhole plackets
meet. There are two 10mm open fabric edges here. I might go back to
hand-stitch this a bit.
And this is a bit of a crime. It is the backside of where the front
bottom, the two front yokes, and the button and buttonhole plackets
meet. There are two 10mm open fabric edges here. I might go back to
hand-stitch this a bit.
This is only a tiny mess compared to the amount of unknowns, redos, and mistakes that went into this part...
The next shirt will be Simon #4. It will not be a test shirt anymore, and it will use the same pattern that was developed in the 3.x series. As mentioned, there are still a few optimisations that I will test out, but I think the basic pattern is good now.