| Tinkering | 2026-02-28 » |
Tinkering: 2026-03-08: Simon #8 Shirt
 There was another shirt on my initial list, with a large pattern repeat
that I wanted to make for myself. I had bought the fabric quite a long while ago,
way before starting to sew, but when I was already sure that I need to learn this.
And now after a few other shirts, here it is!
There was another shirt on my initial list, with a large pattern repeat
that I wanted to make for myself. I had bought the fabric quite a long while ago,
way before starting to sew, but when I was already sure that I need to learn this.
And now after a few other shirts, here it is!
 This is again the shirt pattern based on
Simon (and then modified) that I had
used also for the past few shirts. It is
a standard button down shirt with a full collar.
This is again the shirt pattern based on
Simon (and then modified) that I had
used also for the past few shirts. It is
a standard button down shirt with a full collar.
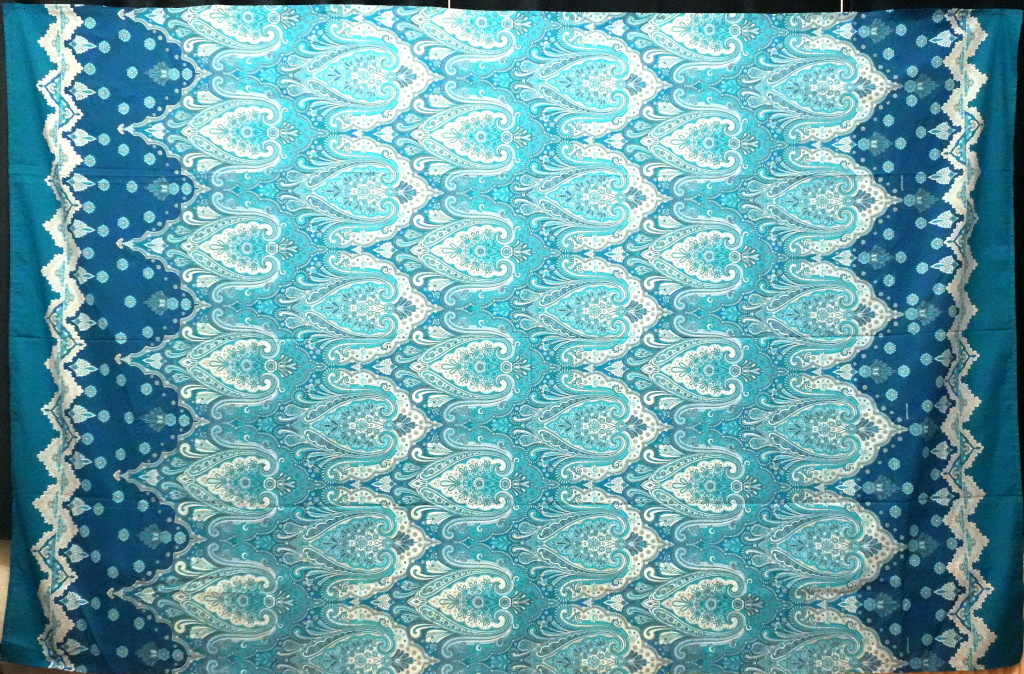
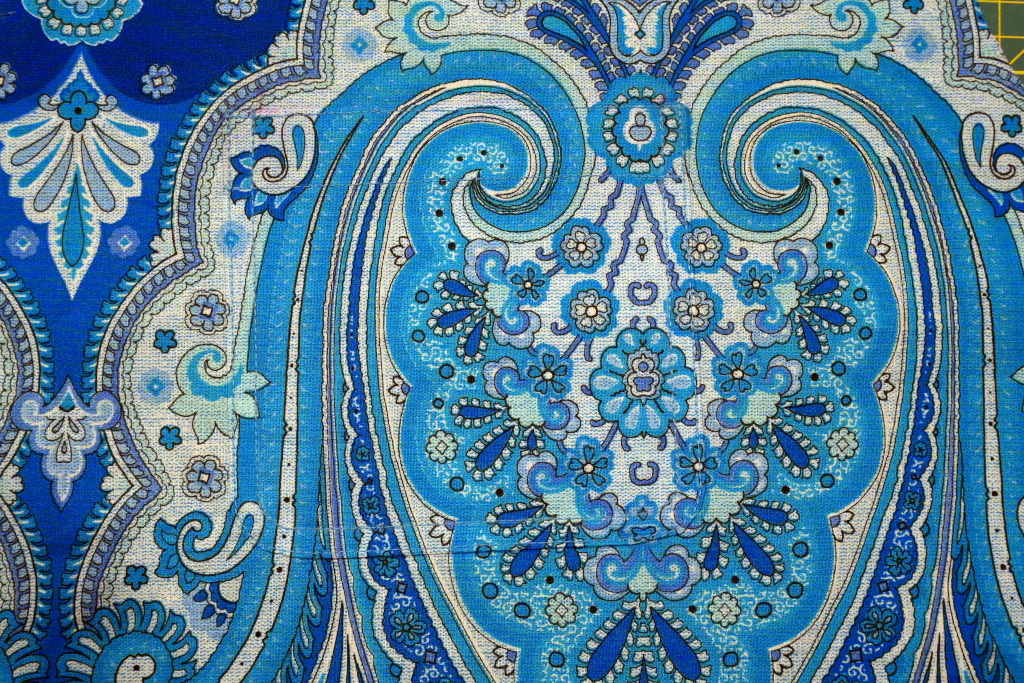
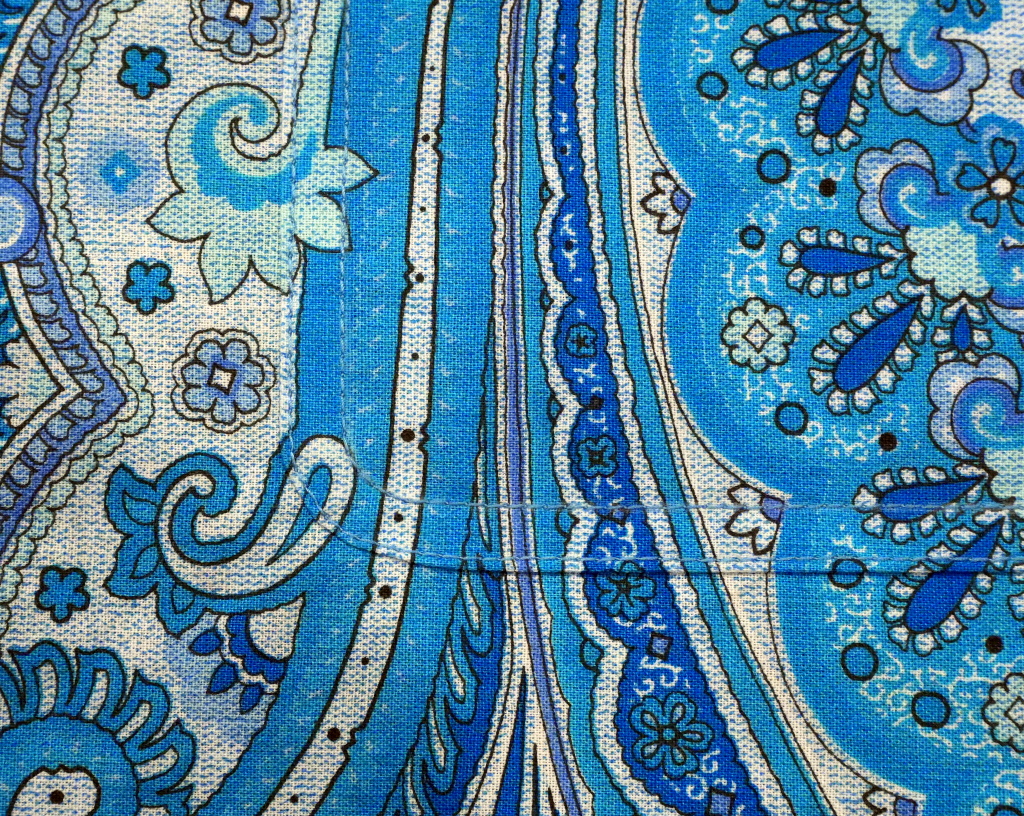
 The fabric is not for shirts, and we will come to that later. It does not drape well
at all, and it will very easily wrinkle, like when I fold my arms. The advantage
of this fabric is its pattern.
The fabric is not for shirts, and we will come to that later. It does not drape well
at all, and it will very easily wrinkle, like when I fold my arms. The advantage
of this fabric is its pattern.
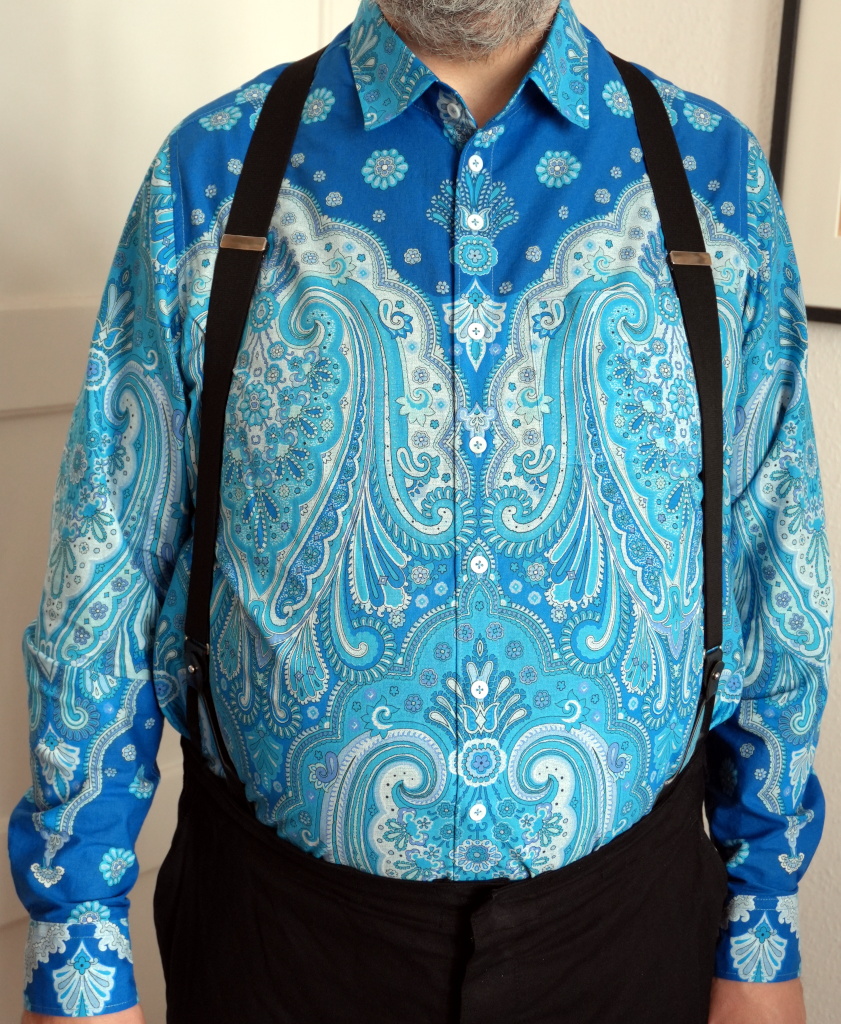 Suspenders generally cause wrinkles, although it is possible
to get a good photo shot, because the shirt pattern is optimised enough now.
Suspenders generally cause wrinkles, although it is possible
to get a good photo shot, because the shirt pattern is optimised enough now.
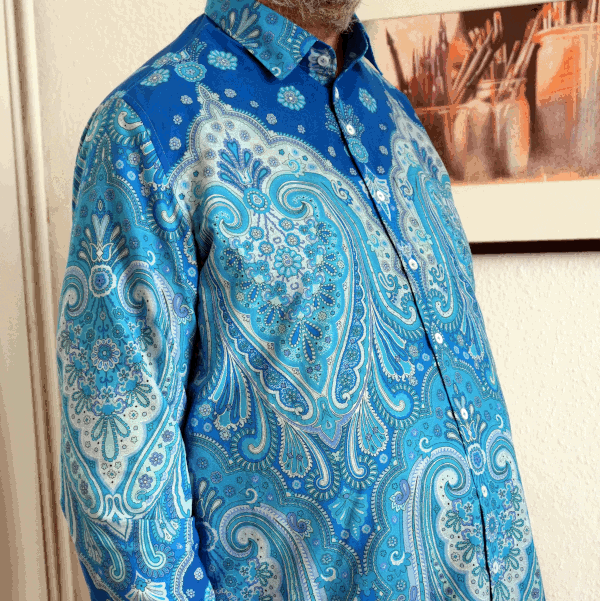
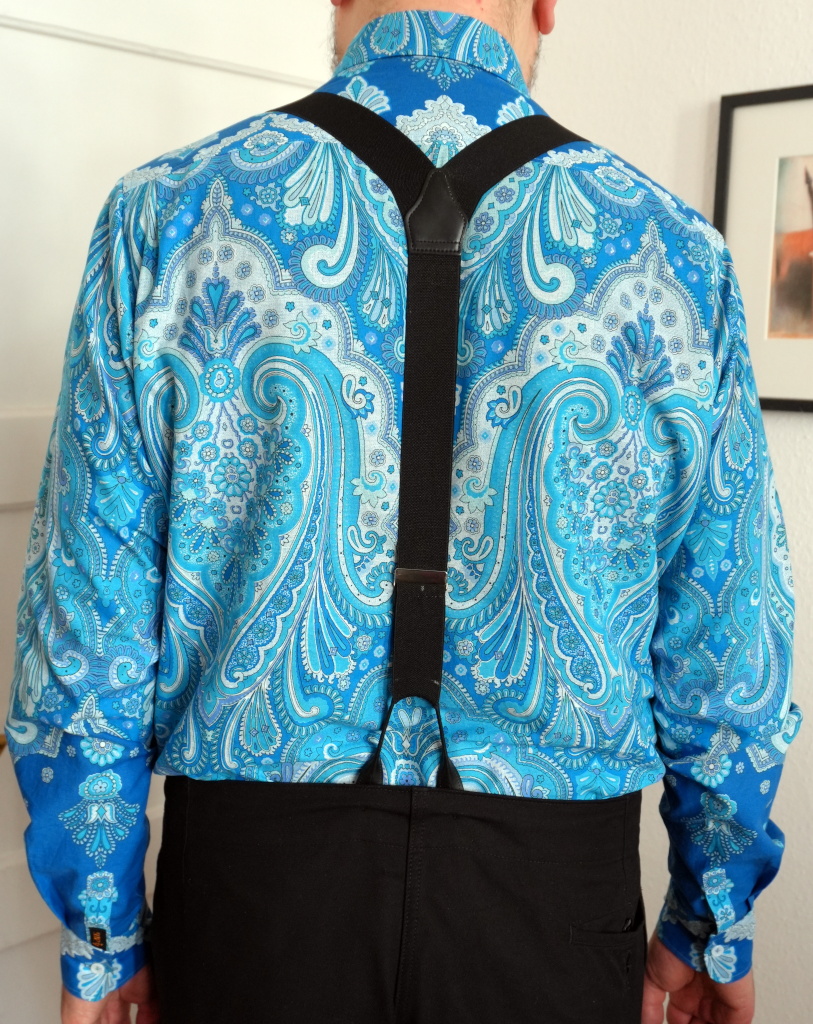
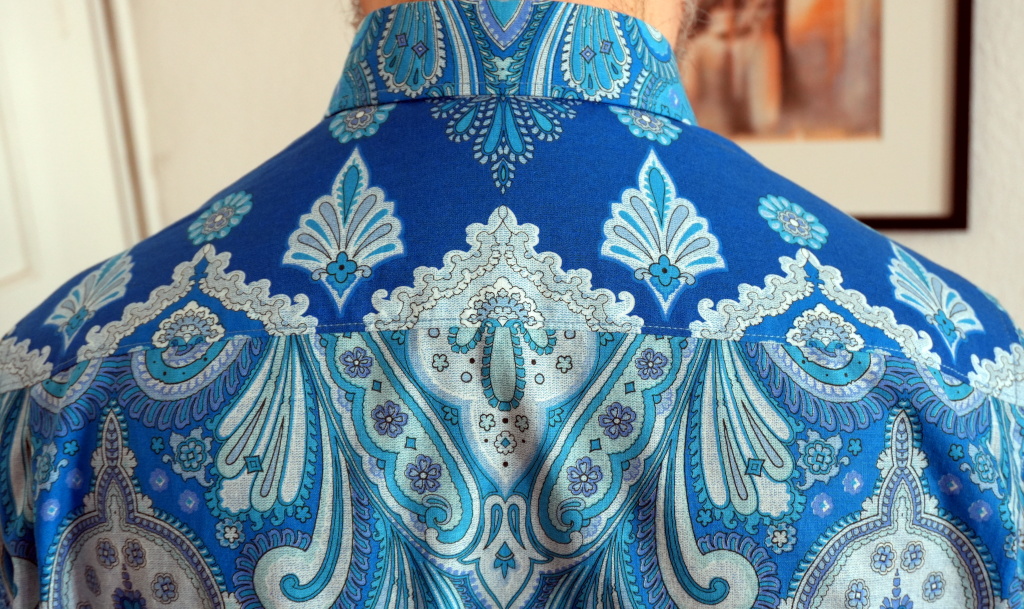 This shirt was again an adventure of good pattern alignment where possible
and artful non-alignment otherwise. The yoke cannot match the back, because
of the curve in the back, but I think a nice transition was found anyway.
This shirt was again an adventure of good pattern alignment where possible
and artful non-alignment otherwise. The yoke cannot match the back, because
of the curve in the back, but I think a nice transition was found anyway.
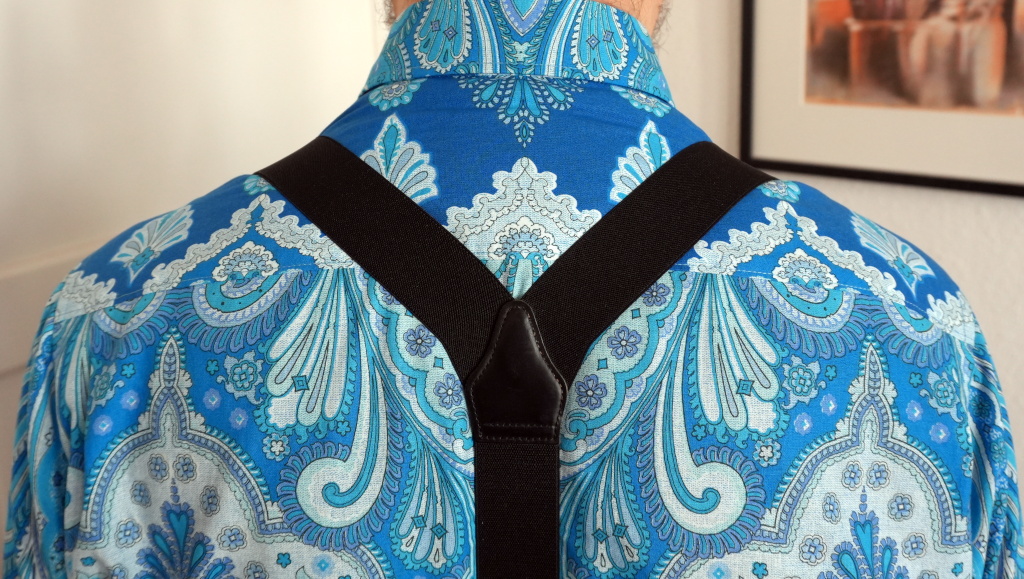 Particularly with suspenders, the yoke works well.
 The whole back is good with suspenders, too, I think.
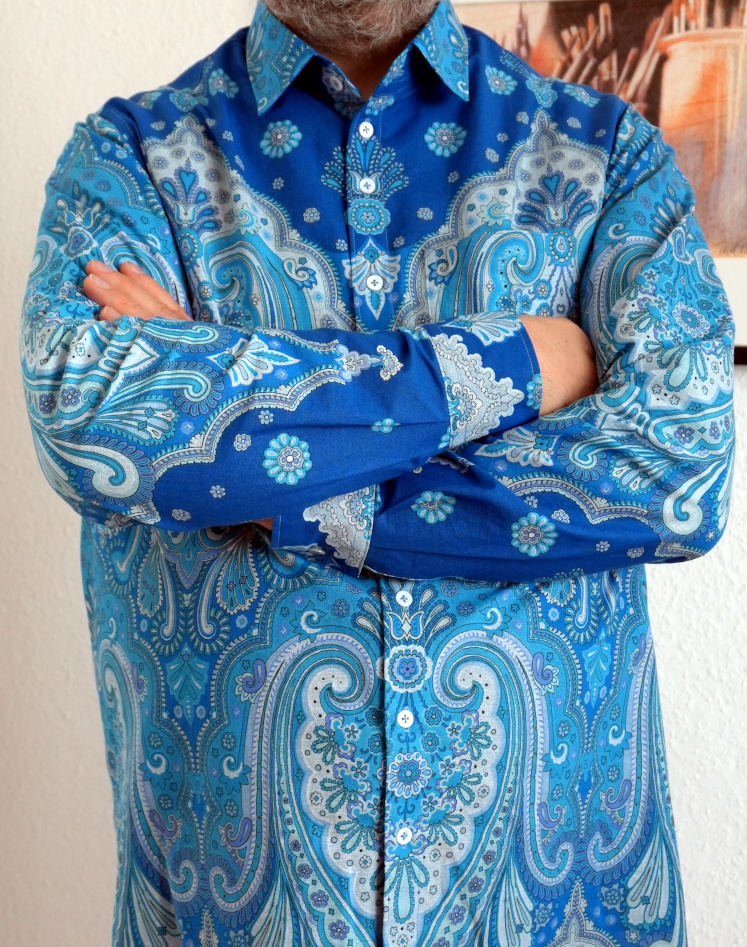
 The side seam cannot match up in most fabrics with a pattern, because
the pattern repeat usually does not divide the circumference. But despite
the mismatch of a few centimeters here, by vertically aligning front and back,
the best possible match was achieved.
The side seam cannot match up in most fabrics with a pattern, because
the pattern repeat usually does not divide the circumference. But despite
the mismatch of a few centimeters here, by vertically aligning front and back,
the best possible match was achieved.
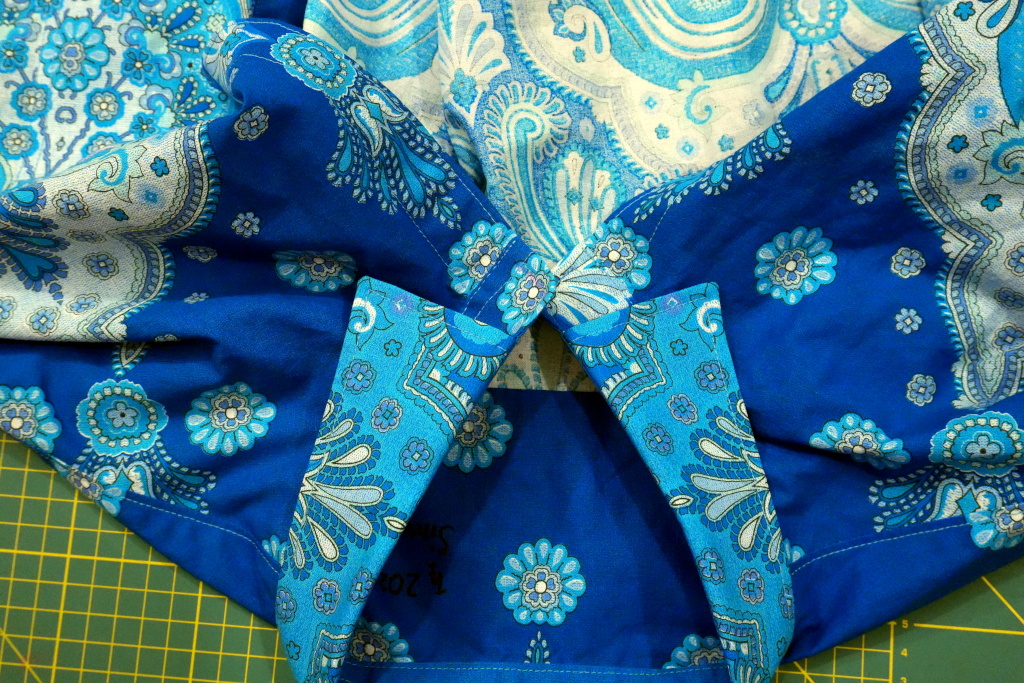
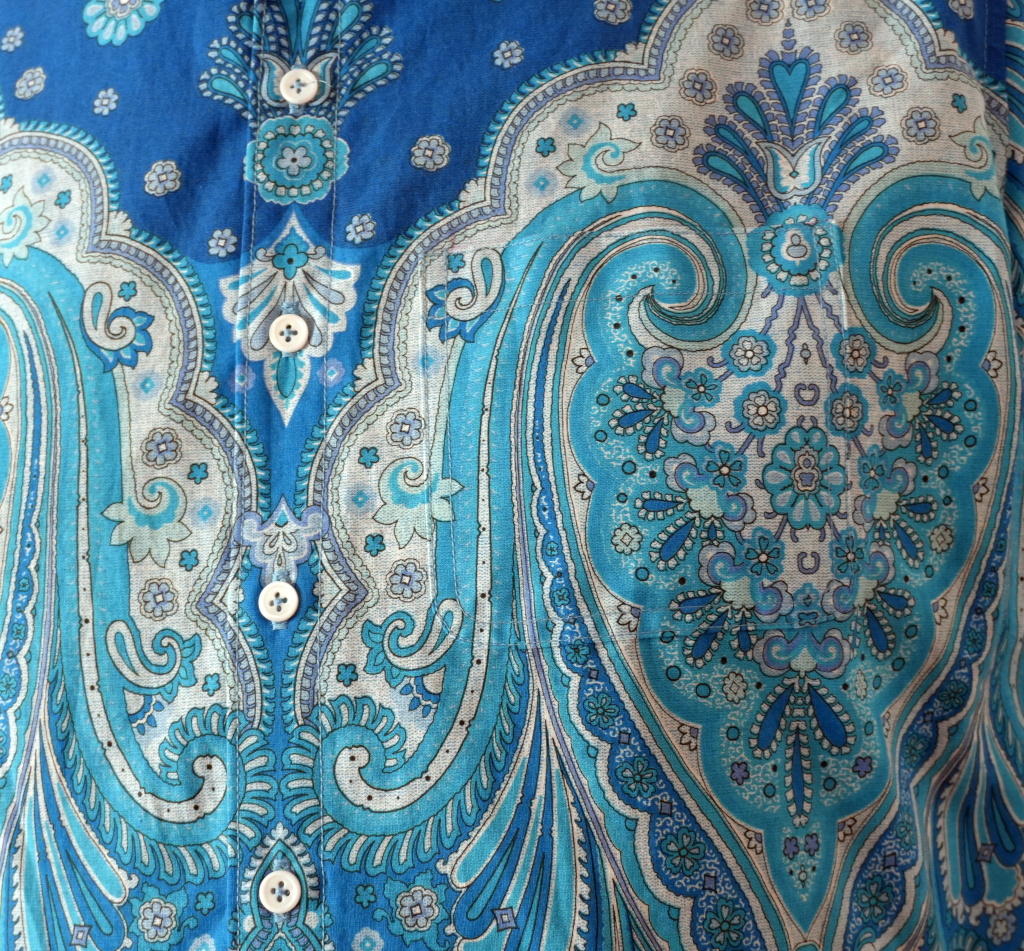 A good match can be achieved for the button placket and the chest
pocket. Yes, there is a pocket! Maybe click on the image to see this in more
detail. We'll also come back to that pocket.
A good match can be achieved for the button placket and the chest
pocket. Yes, there is a pocket! Maybe click on the image to see this in more
detail. We'll also come back to that pocket.
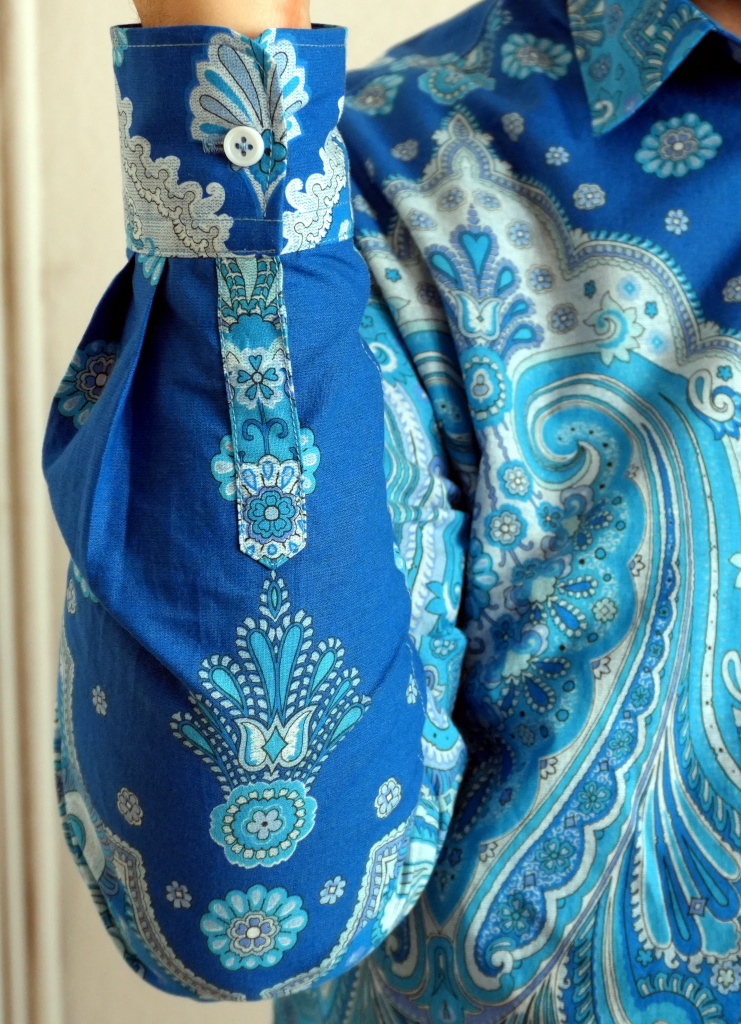 The sleeve plackets are an artful non-match: they are exactly on the axis of
reflection of an arrow-like structure in the pattern. This was a lucky
choice of shifting the sleeve pattern.
The sleeve plackets are an artful non-match: they are exactly on the axis of
reflection of an arrow-like structure in the pattern. This was a lucky
choice of shifting the sleeve pattern.
 The two sleeve plackets were selected to be a plausible continuation of the
sleeve pattern at first glance.
The two sleeve plackets were selected to be a plausible continuation of the
sleeve pattern at first glance.
And the left sleeve placket has my logo as usual.
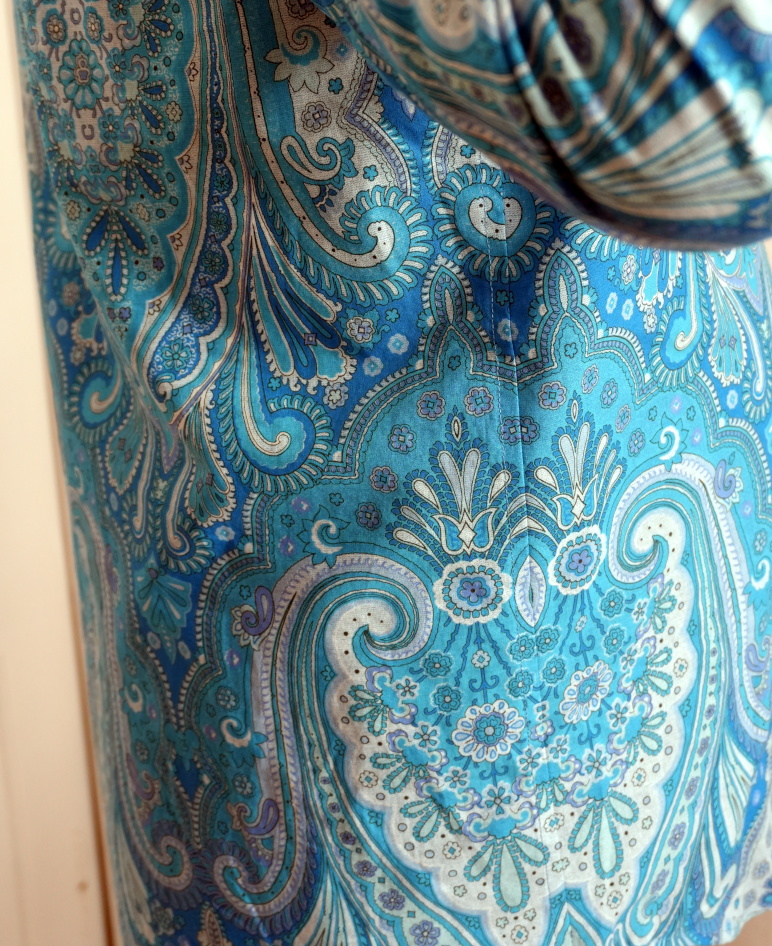
 The fabric used for this shirt is not made for shirts, but it is a decoration
sheet of furnishing fabric. It is clearly less fine than normal shirt fabric,
but it's not too thick, so I thought I'd give it a try. It works, but just
does not drape that well.
The fabric used for this shirt is not made for shirts, but it is a decoration
sheet of furnishing fabric. It is clearly less fine than normal shirt fabric,
but it's not too thick, so I thought I'd give it a try. It works, but just
does not drape that well.
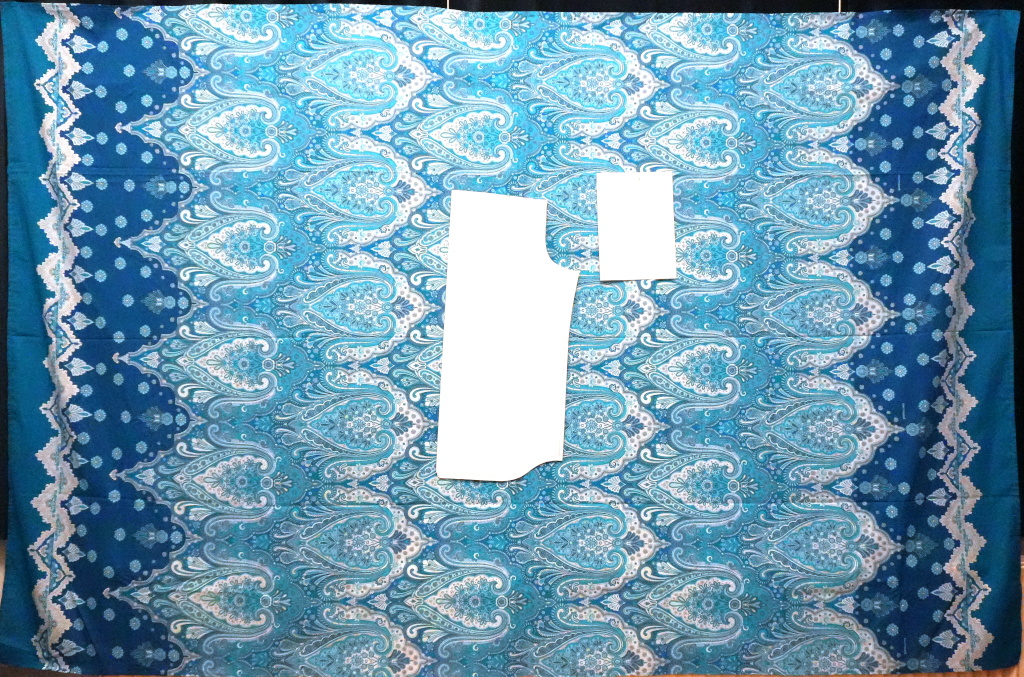
 This shirt's cutting process needed thorough planning to be sure that the
sheet I had would not be wasted. So I started by taking a photo of the
whole sheet.
This shirt's cutting process needed thorough planning to be sure that the
sheet I had would not be wasted. So I started by taking a photo of the
whole sheet.
 Then I took photos of each part of the shirt cutting templates. And I used
a sheet of A4 paper for size calibration.
Then I took photos of each part of the shirt cutting templates. And I used
a sheet of A4 paper for size calibration.
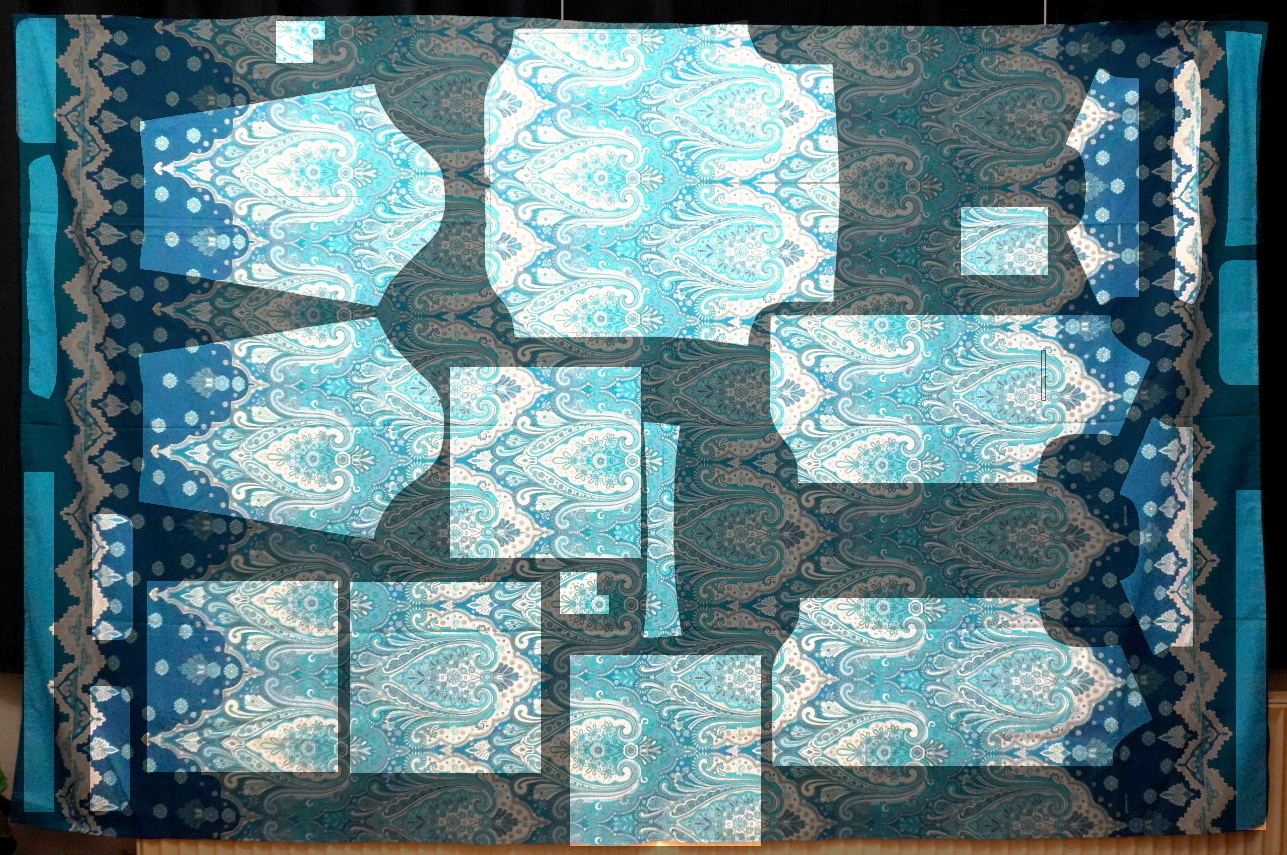 Then with the Gimp image editor, I arranged all
the necessary pieces of the
shirt puzzle onto that sheet of fabric, and I also tried to maximize the
number of 42cmx42cm squares in 'nice' places of the remaining fabric for possibly
making pillow covers later.
Then with the Gimp image editor, I arranged all
the necessary pieces of the
shirt puzzle onto that sheet of fabric, and I also tried to maximize the
number of 42cmx42cm squares in 'nice' places of the remaining fabric for possibly
making pillow covers later.
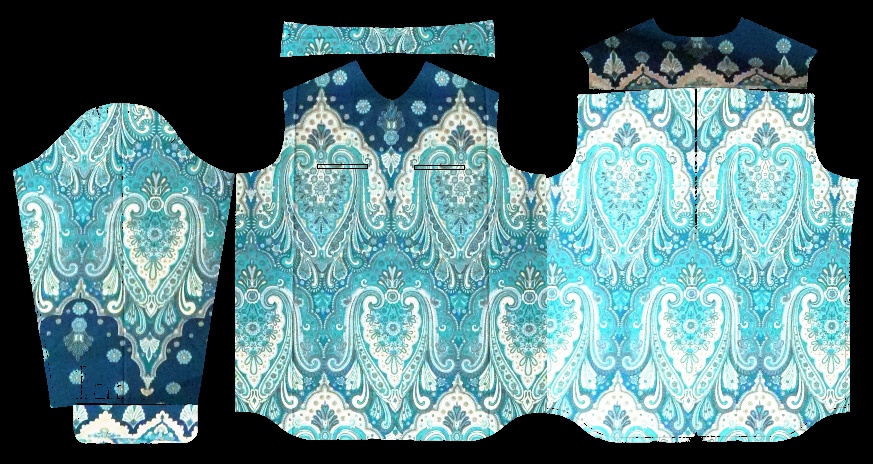 To finally check that it might be OK, I made another rough shirt simulation
view.
To finally check that it might be OK, I made another rough shirt simulation
view.
After this, the pieces were marked on the fabric, and then cut. I did this in two steps, because I still wasn't sure it would work, as for some parts, particularly the back, I needed to open the hem to have enough fabric.
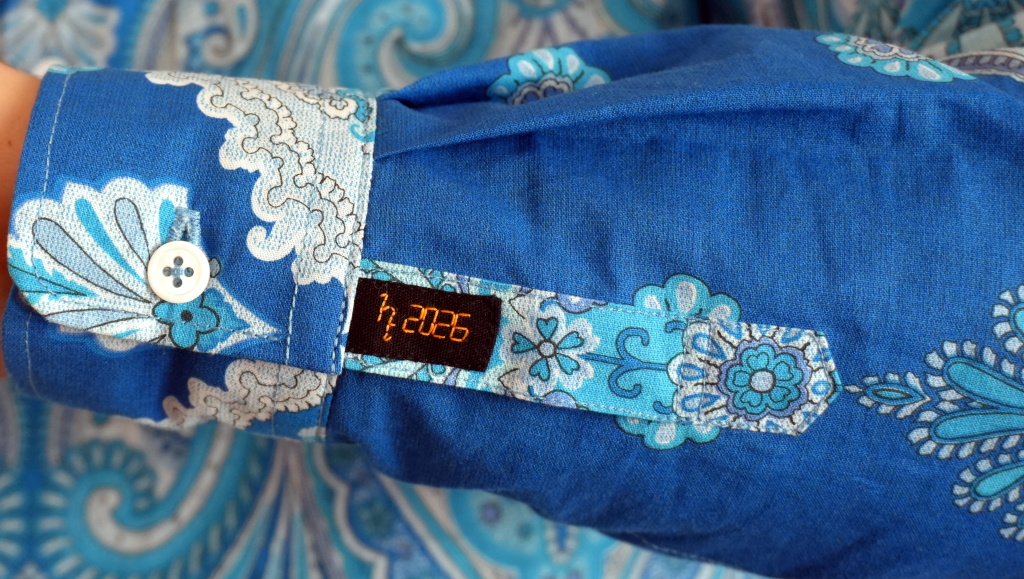
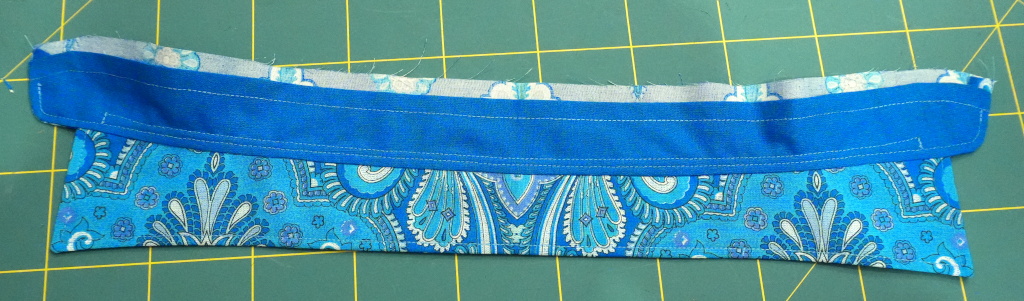
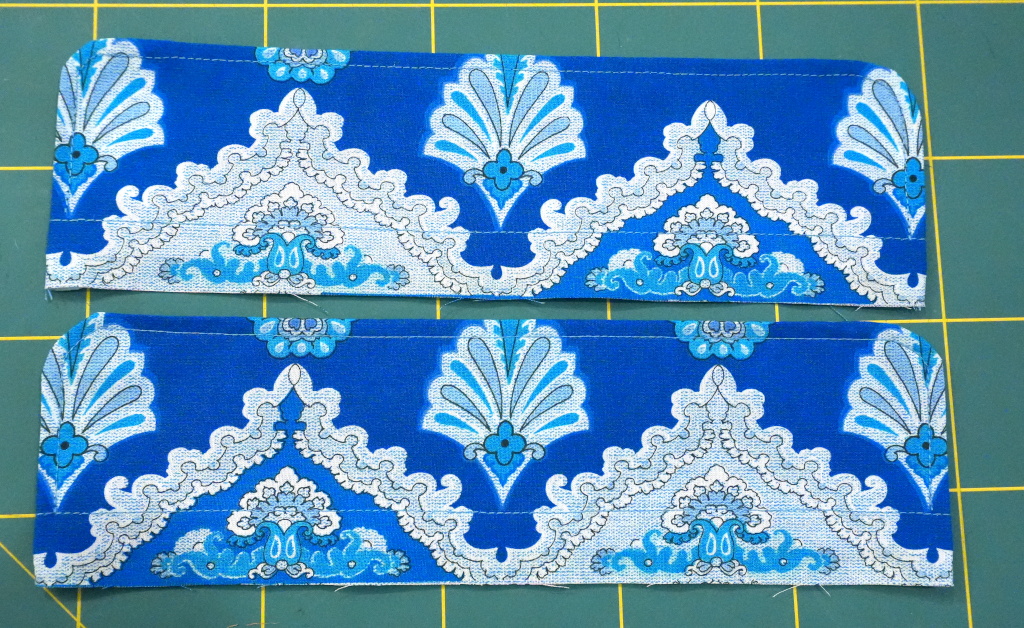 The first thing I usually sew is the cuffs. Notice how the cuffs are symmetrical,
but not 100%, because one of the (half) 'flowers' is only on one side.
The first thing I usually sew is the cuffs. Notice how the cuffs are symmetrical,
but not 100%, because one of the (half) 'flowers' is only on one side.
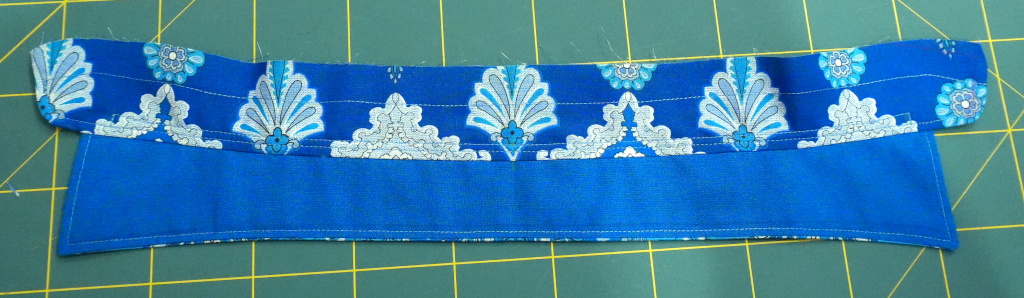 The next thing was the collar.
 After all those shirts, I settled on a different technique for the cuffs and
the collar where the outer fabric's seam allowance is left open. I find it
easier to attach by aligning the fabrics good-on-good side and then pre-sewing at
the usual seam allowance from the edge. After that, the attachment (cuff or collar)
is folded over, the seam allowance gets sandwiched, and a top stitch finishes it.
The good side ends up with a very clean seam this way.
After all those shirts, I settled on a different technique for the cuffs and
the collar where the outer fabric's seam allowance is left open. I find it
easier to attach by aligning the fabrics good-on-good side and then pre-sewing at
the usual seam allowance from the edge. After that, the attachment (cuff or collar)
is folded over, the seam allowance gets sandwiched, and a top stitch finishes it.
The good side ends up with a very clean seam this way.
 Then I moved on to the chest pocket. With the front not attached to anything yet,
it's much easier to cleanly handle it so that the fabrics can be aligned accurately.
Then I moved on to the chest pocket. With the front not attached to anything yet,
it's much easier to cleanly handle it so that the fabrics can be aligned accurately.
 This is a corner detail of the pocket. You can see that it is not
perfect (notice how that one circle on the lower right is not a
circle), but the pattern is so forgiving that the pocket is almost
invisible.
This is a corner detail of the pocket. You can see that it is not
perfect (notice how that one circle on the lower right is not a
circle), but the pattern is so forgiving that the pocket is almost
invisible.
I use two stitch lines to ensure that the fabric edges are enclosed on the inside of the pocket. After the first (outer) stitch line, I invert the pocket and cut back the fabric's seam allowance to less that the distance of my second stich line, and then it's all clean on the inside of the pocket.
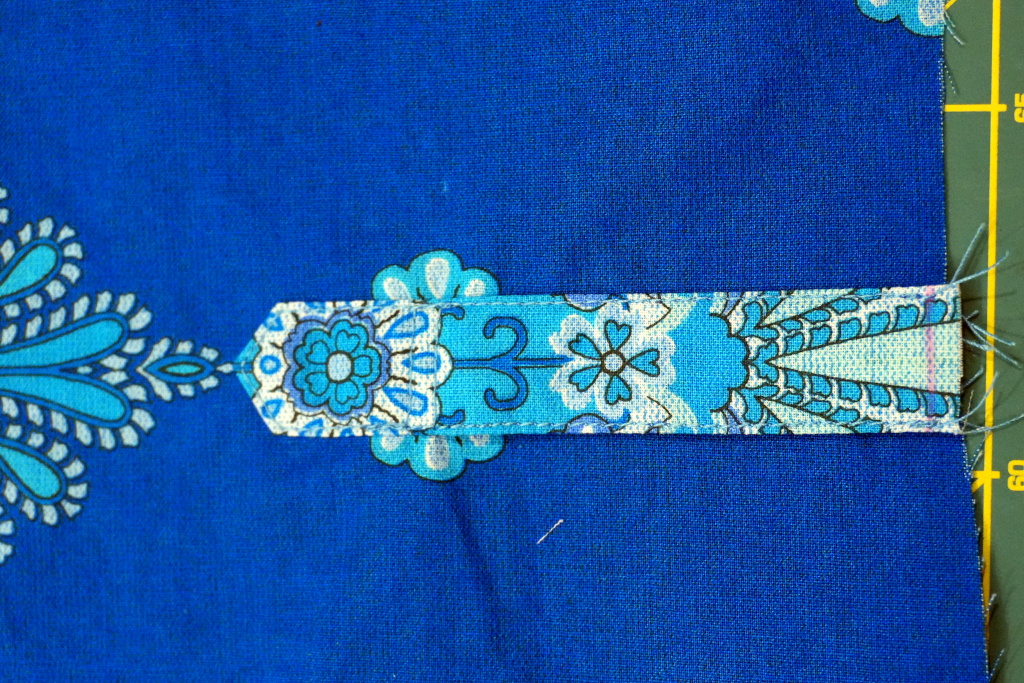 Then I move on to the sleeve plackets, which are exactly centered on an axis
of reflection in the sleeve pattern.
Then I move on to the sleeve plackets, which are exactly centered on an axis
of reflection in the sleeve pattern.
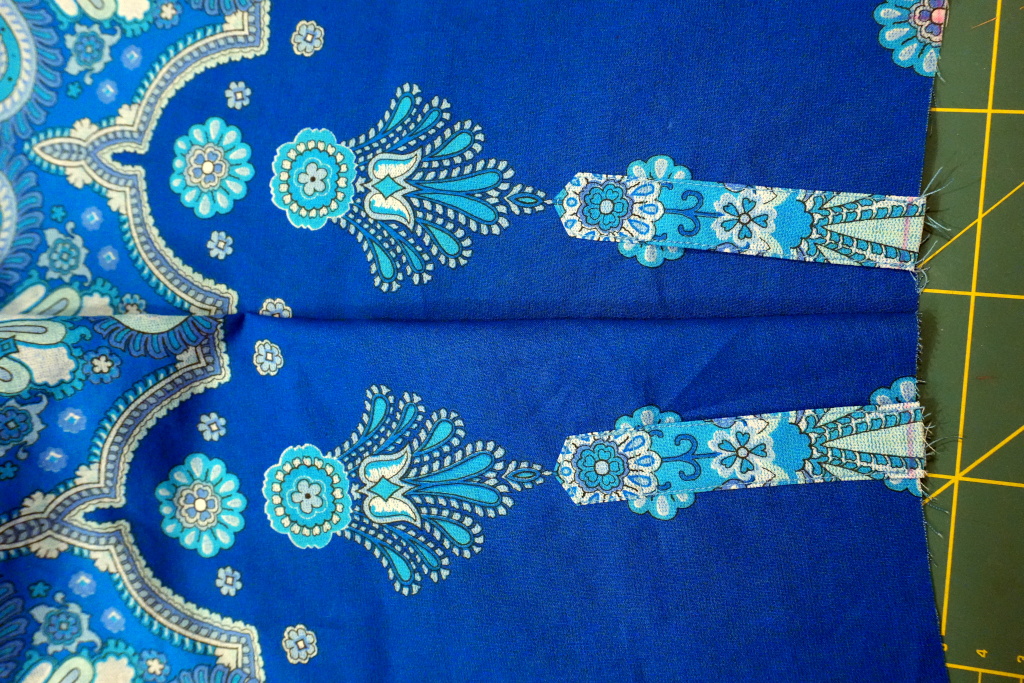 These are the two sleeve plackets side by side.
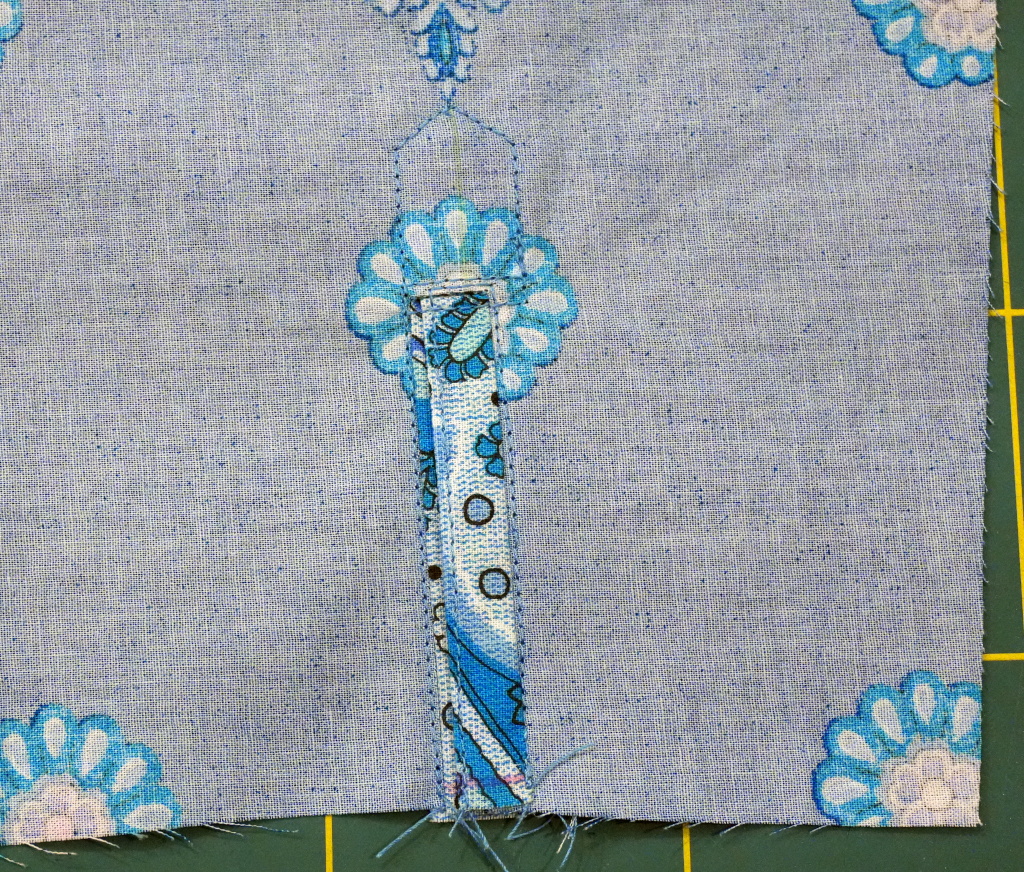 The back side of the sleeve plackets is also clean now. I fold it such
that the front is 2mm wider than the back, so that the top stitch
is next to the inner fold line, and not on it (and not half on it and
half next to it).
The back side of the sleeve plackets is also clean now. I fold it such
that the front is 2mm wider than the back, so that the top stitch
is next to the inner fold line, and not on it (and not half on it and
half next to it).
 Then I made the button and button hole plackets. The button placket is 3mm narrower
on both sides to ensure that the button hole placket fully hides the inner fabric.
Then I made the button and button hole plackets. The button placket is 3mm narrower
on both sides to ensure that the button hole placket fully hides the inner fabric.
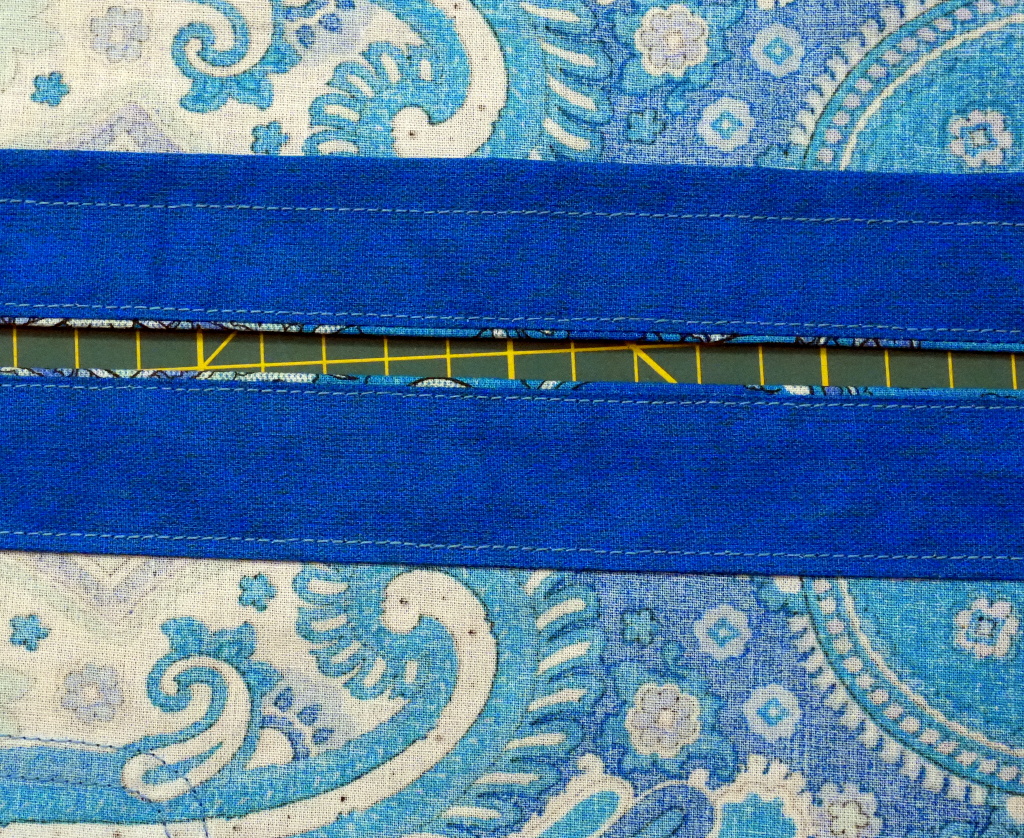 On the inside, this causes the stitch line on the button placket to be further
from the edge of the back fabric. You may think this is not clean, and of
course, the back fabric could be made narrower on the button placket. But
the two back fabric pieces are the same size this way, so I cannot mix them up.
On the inside, this causes the stitch line on the button placket to be further
from the edge of the back fabric. You may think this is not clean, and of
course, the back fabric could be made narrower on the button placket. But
the two back fabric pieces are the same size this way, so I cannot mix them up.
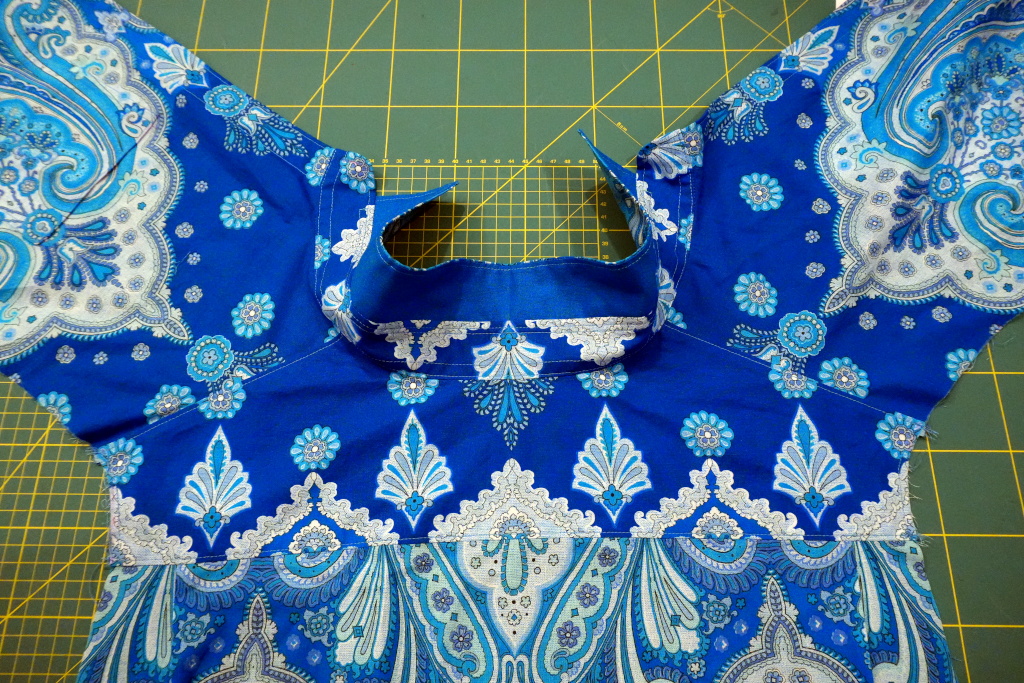 After preparing all the pieces, sewing the fronts, back, yoke, and collar together
is quickly done. This is the first impression of how the neck area looks like.
After preparing all the pieces, sewing the fronts, back, yoke, and collar together
is quickly done. This is the first impression of how the neck area looks like.
 During the planning of the cutting, I struggled a bit to find a good
piece of fabric for the collar, and now we can see whether it worked.
During the planning of the cutting, I struggled a bit to find a good
piece of fabric for the collar, and now we can see whether it worked.
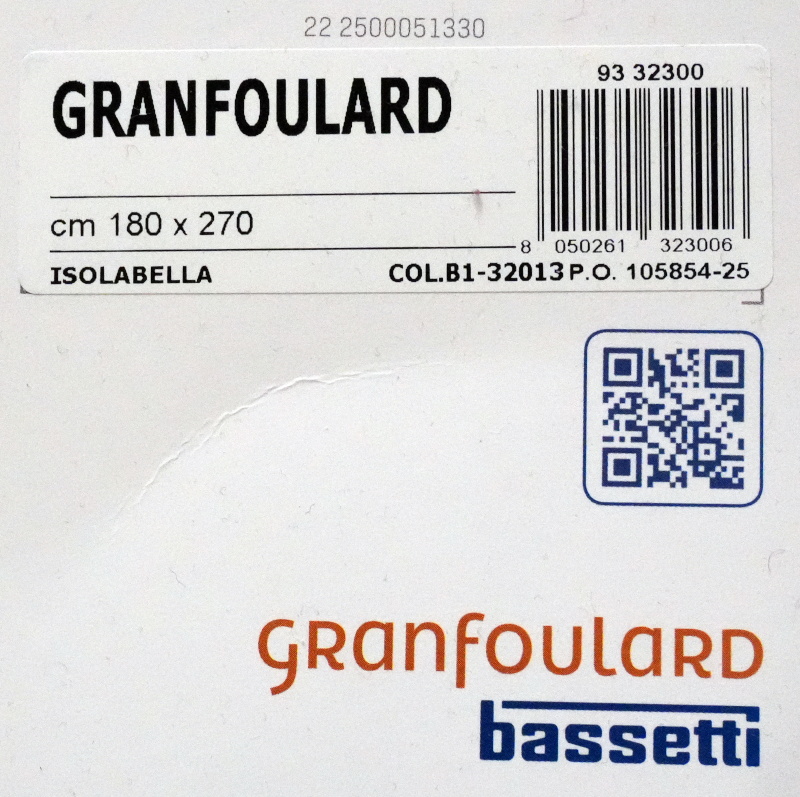
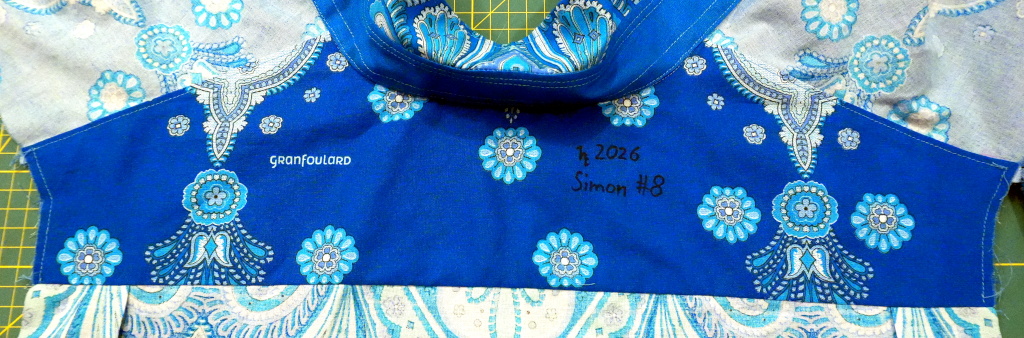 The inner yoke was selected so that the printed 'granfoulard' text is visible.
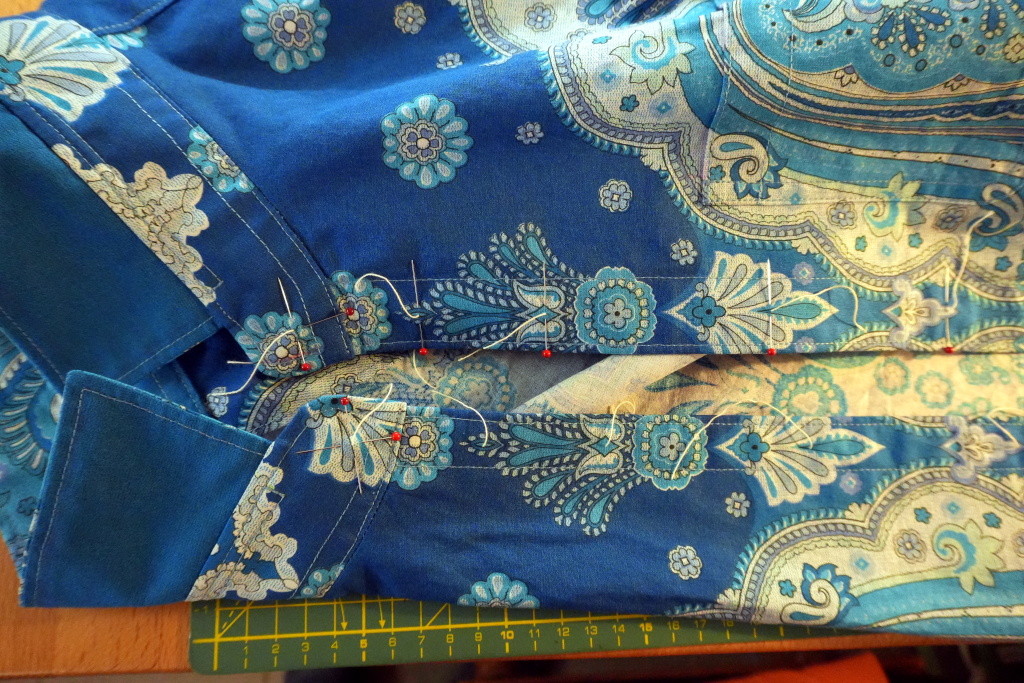 Finally, we can do the button holes and attach the buttons. This is precision
work, too, and for planning, I marked all the holes both with a piece of thread,
and a needle, and I took photos. This is a bit redundant just in case I accidentally
rip out a marking thread or needle. On this kind of fabric with a strong pattern,
however, the pattern can be used for orientation, especially for the center line.
Finally, we can do the button holes and attach the buttons. This is precision
work, too, and for planning, I marked all the holes both with a piece of thread,
and a needle, and I took photos. This is a bit redundant just in case I accidentally
rip out a marking thread or needle. On this kind of fabric with a strong pattern,
however, the pattern can be used for orientation, especially for the center line.
So now I can check this item off my list. There is still one major project on that list that I cannot tackle yet, as I need more pieces of the puzzle. I hope to report back soon.