| « 2025-10-23 | Tinkering | 2025-08-08 » |
Tinkering: 2025-08-10: Shirt Cuff
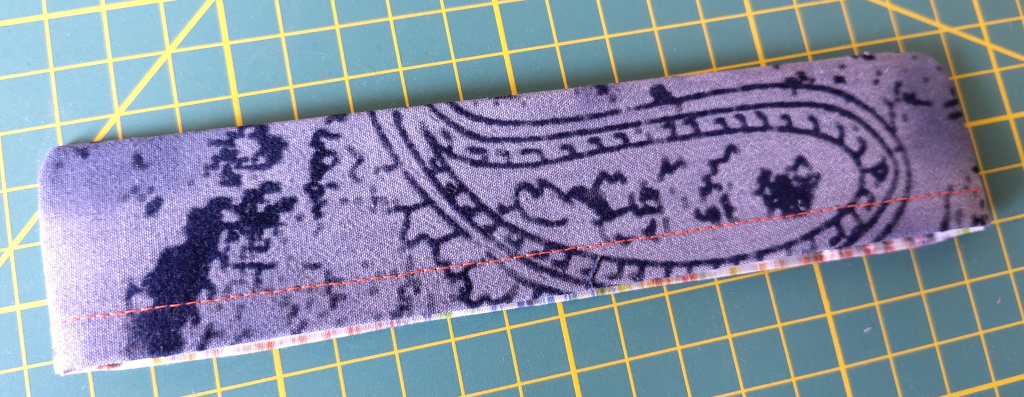
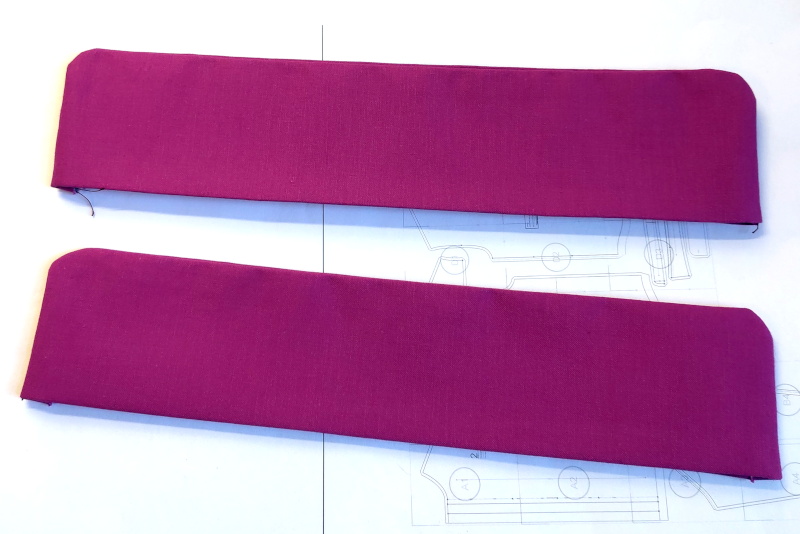 These are the cuffs of my first 'Simon' shirt.
The cuffs are fine, but I think we can improve on the construction, even without changing the pattern. I was struggling a bit with these cuffs, because they are kept half-open, i.e., open by the seam allowance, to be able to fold in the cuff's own seam allowance, and to attach the sleeve. It was not the easiest task to close them neatly later – several layers of fabric need to be tucked in somehow at the edges before closing the cuffs, and these layers all want to pop out and show their ugly edges. 'Frustrating' is definitely too harsh – but if there is a simple way to avoid this fiddliness, I'd be happy.
 So I wondered how my existing shirts do it, because I noticed that the edges are all very
clean.
So I wondered how my existing shirts do it, because I noticed that the edges are all very
clean.
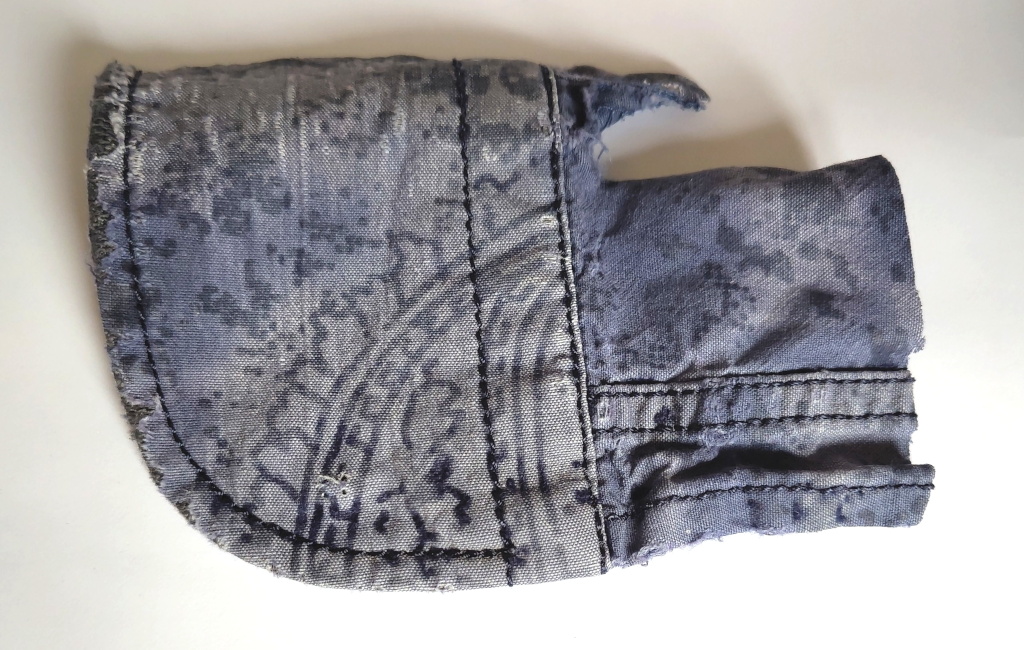
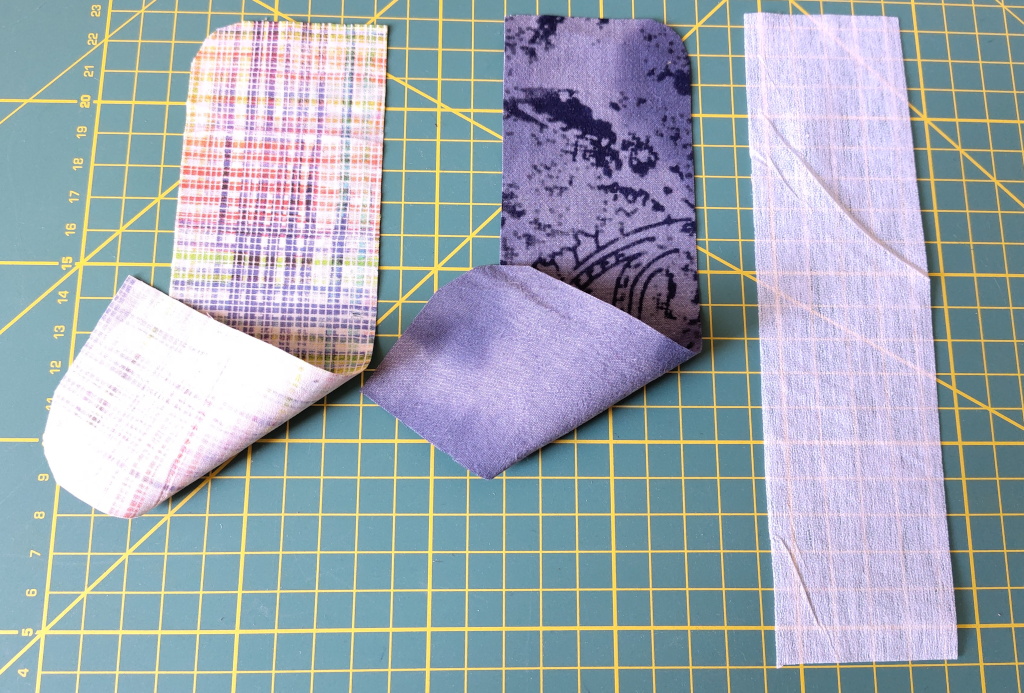
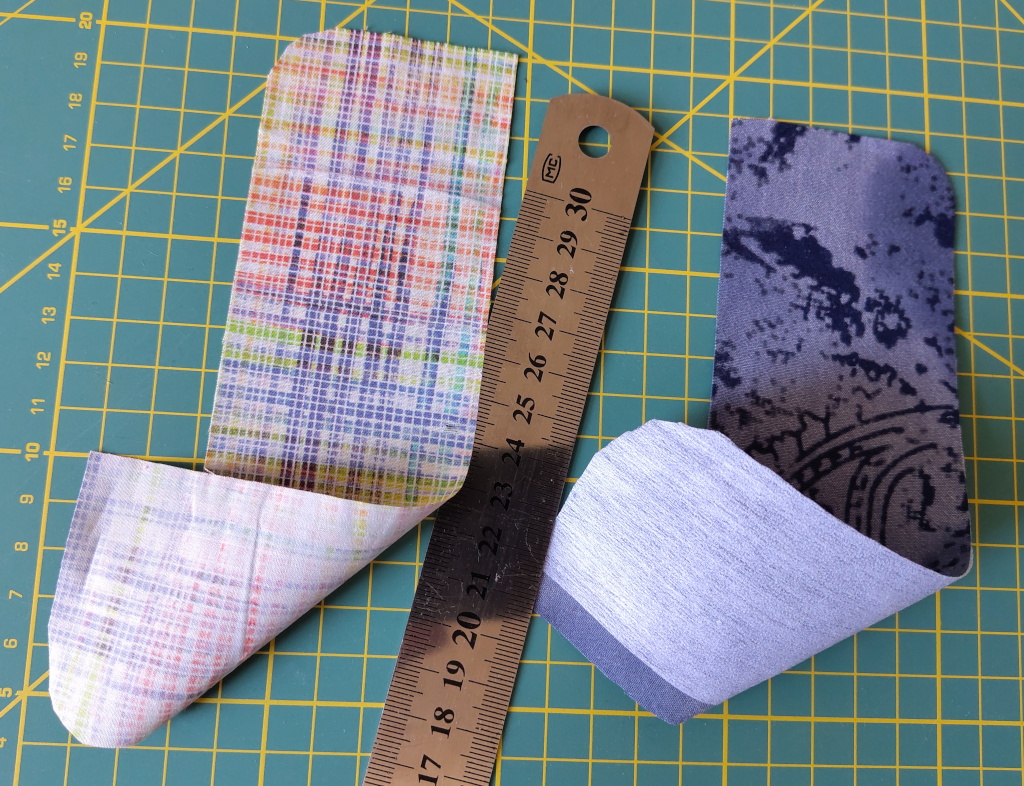
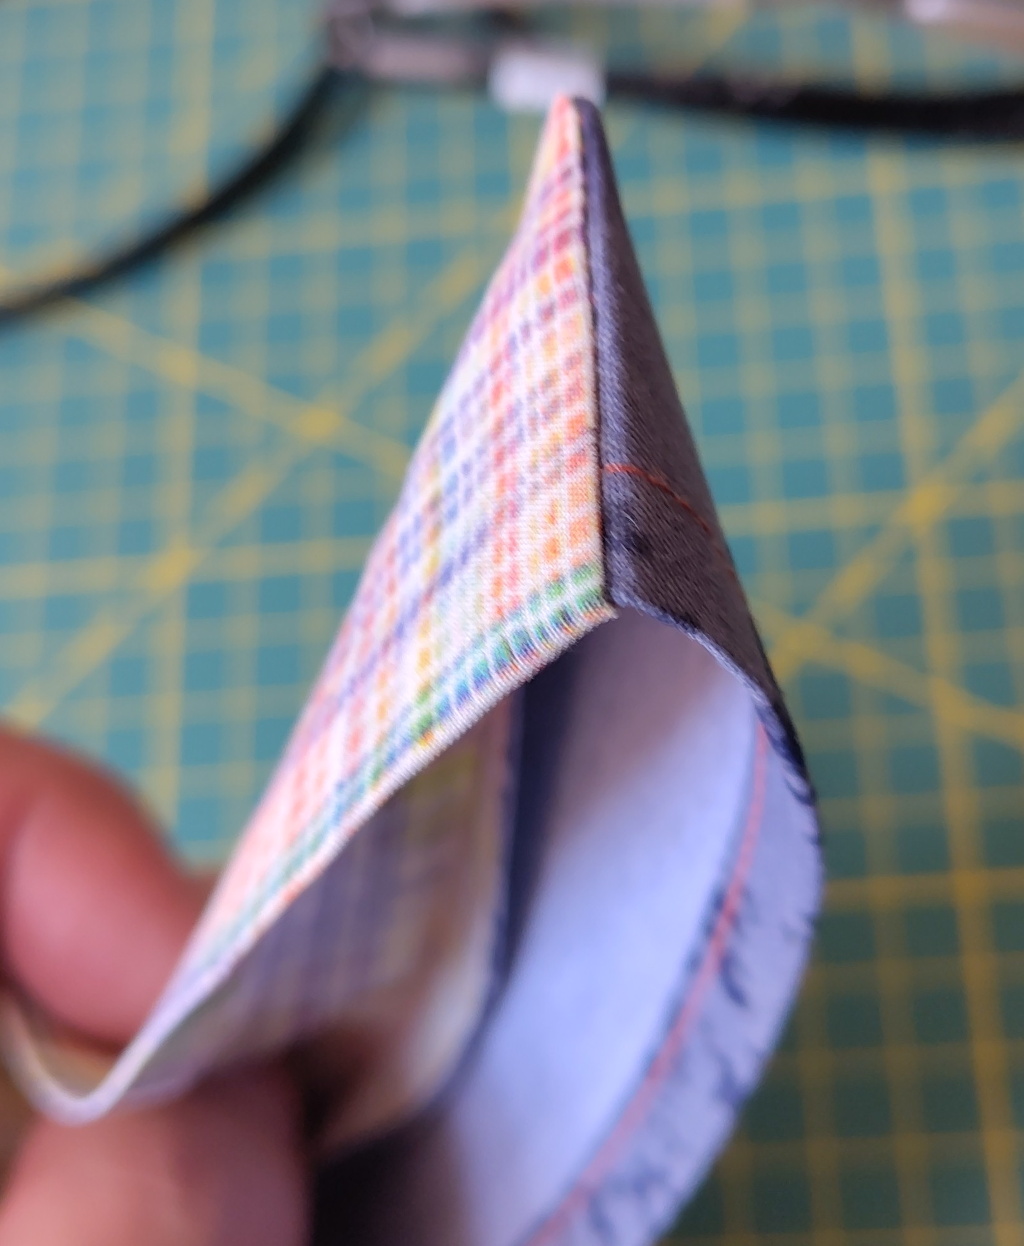
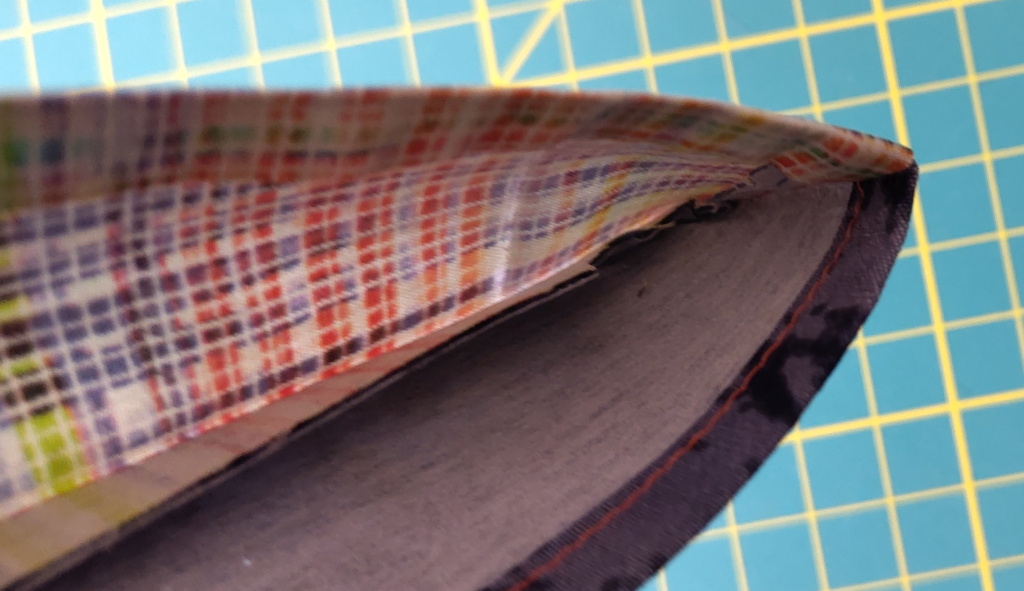
This is an old and worn out piece of a Signum shirt cuff, plus a piece of the sleeve. I can assure you that the shirt had a long and happy life, with at least fifteen active years, and it received love and appreciation. It was a good shirt.
OK. Let's open it, for a post mortem appreciation.
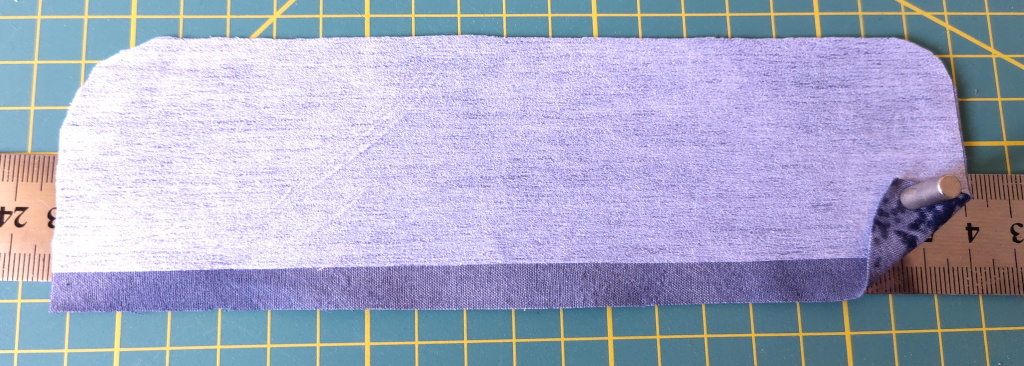
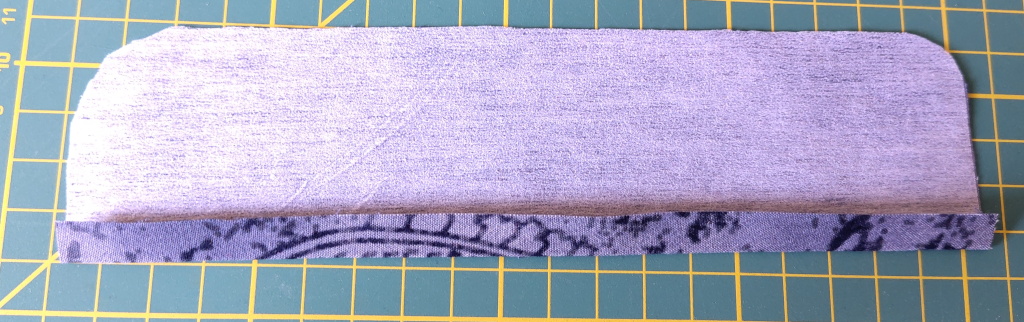
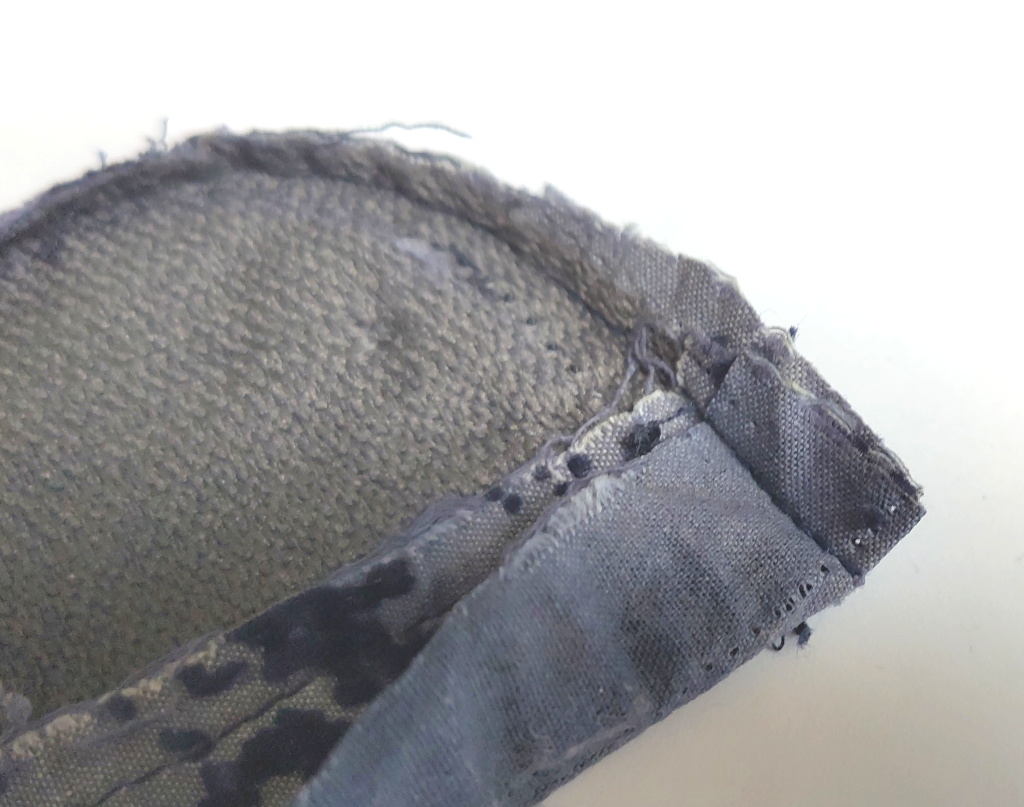 And this is the trick: the seam allowance of the cuff is sewn in with the
connecting seam of the two layers of fabric. It is really that simple! Fold
over the seam allowance, both layers, and just stitch it all together.
And this is the trick: the seam allowance of the cuff is sewn in with the
connecting seam of the two layers of fabric. It is really that simple! Fold
over the seam allowance, both layers, and just stitch it all together.
This article could end here. The rest is just a more detailed story.
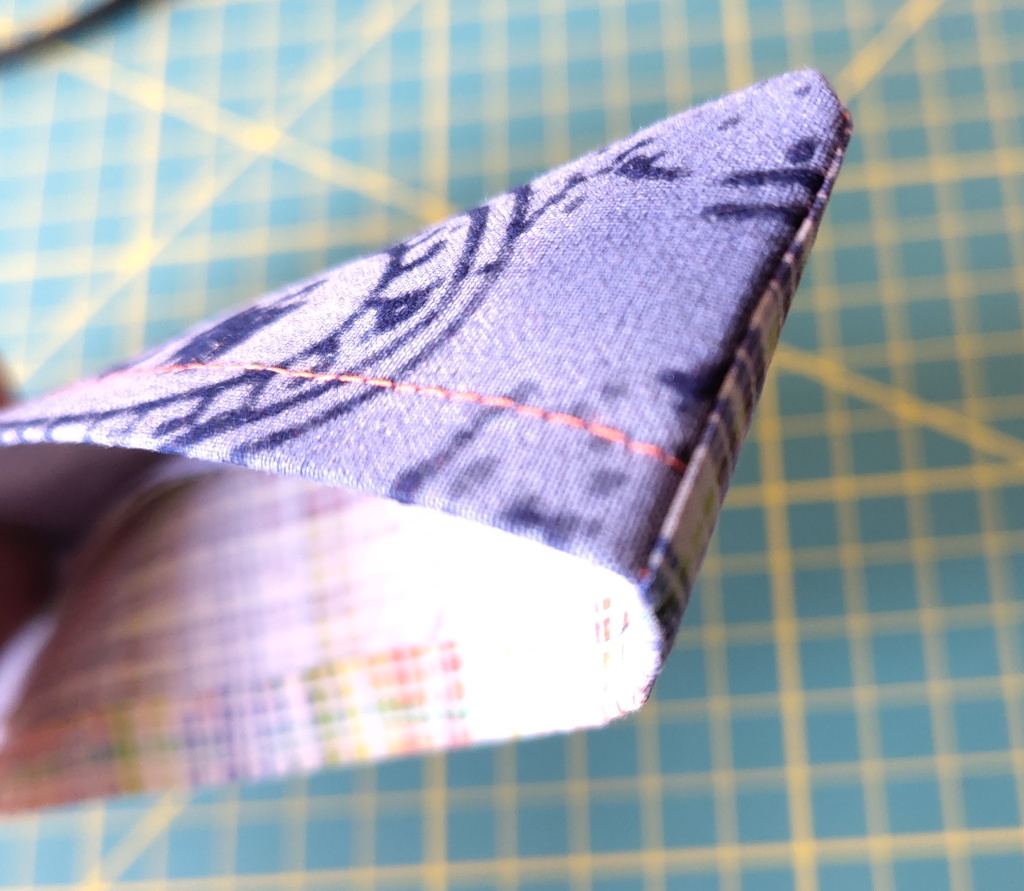
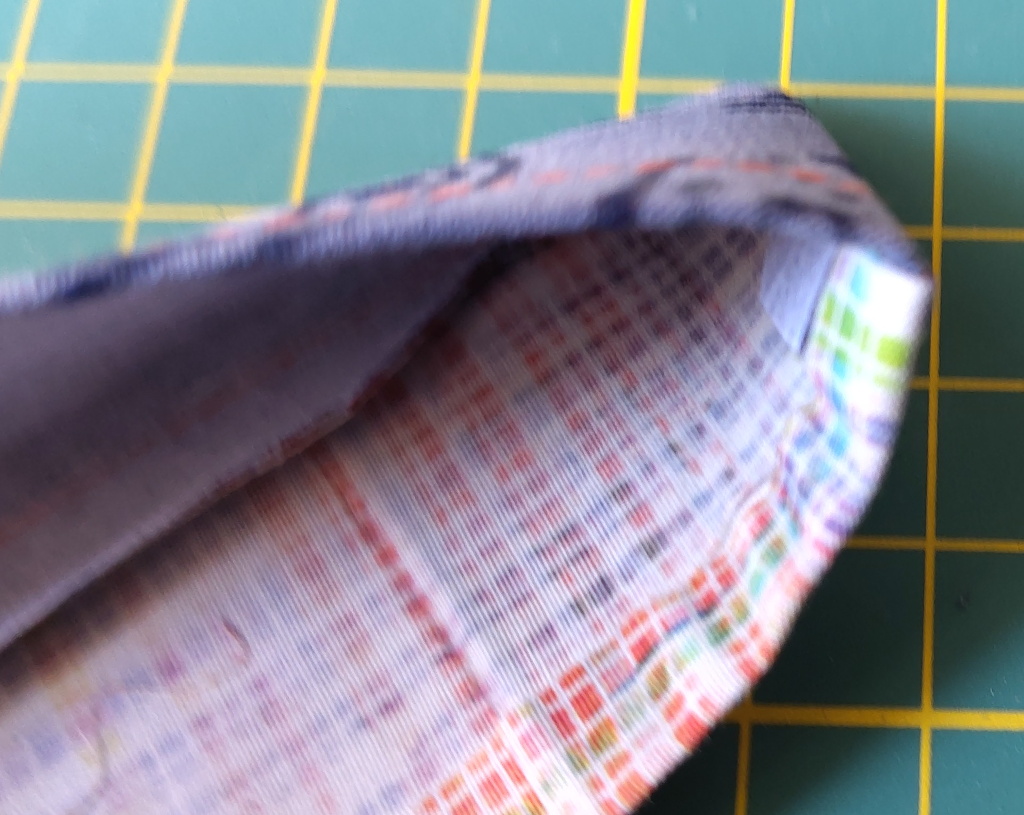
As you can also see, the cuff's seam allowance is very wide. I don't think this is strictly necessary, but it is the style of these shirts, and one of the seams can be quite far off the edge this way.
 So this is the method of sewing the cuffs. You can replace the cuff
preparation step in the Simon shirt with
this method – it is a drop-in replacement without any difference in the cuff pattern.
So this is the method of sewing the cuffs. You can replace the cuff
preparation step in the Simon shirt with
this method – it is a drop-in replacement without any difference in the cuff pattern.
I think this method is no more complicated than the original one, but will save me some stressful steps later, when attaching the sleeve.
Theoretically, the same can be done with the collar stand, although the collar might be in the way a bit when folding over the inside fabric layer – and the collar may need to be folded away. I will investigate and report on this – I want this to work.
 So let's try this for real.
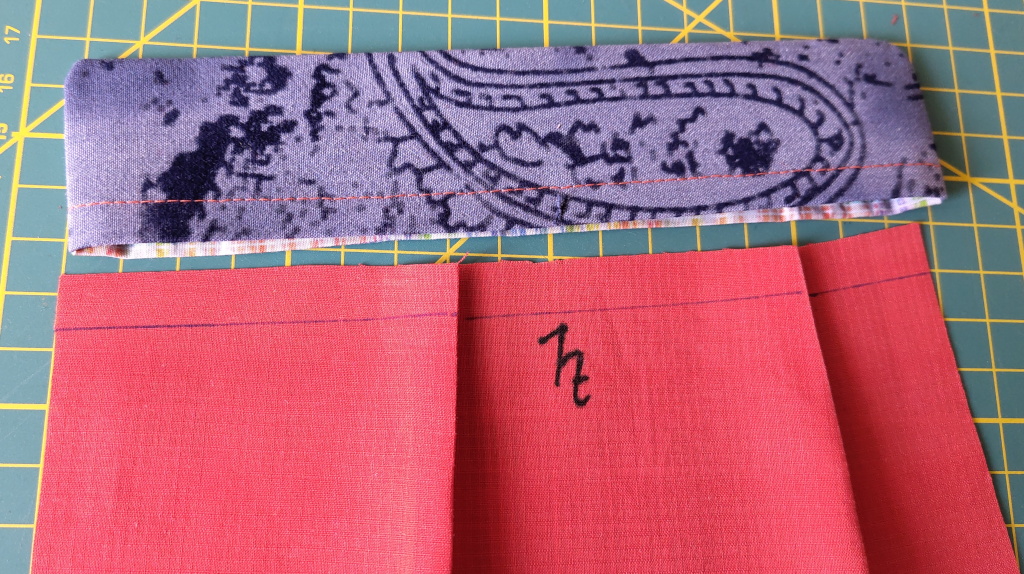
Let's use two completely differently coloured parts to be able to distinguish them easily. Also, the good and bad sides of the fabrics are different, so again, they can be distinguished easily. We also need a piece of interfacing.
 The interfacing is put on the outside layer of the cuff, but not on its sleeve side
seam allowance.
The interfacing is put on the outside layer of the cuff, but not on its sleeve side
seam allowance.
It is not necessary to exempt the seam allowance, so do as you like, whatever is easiest.
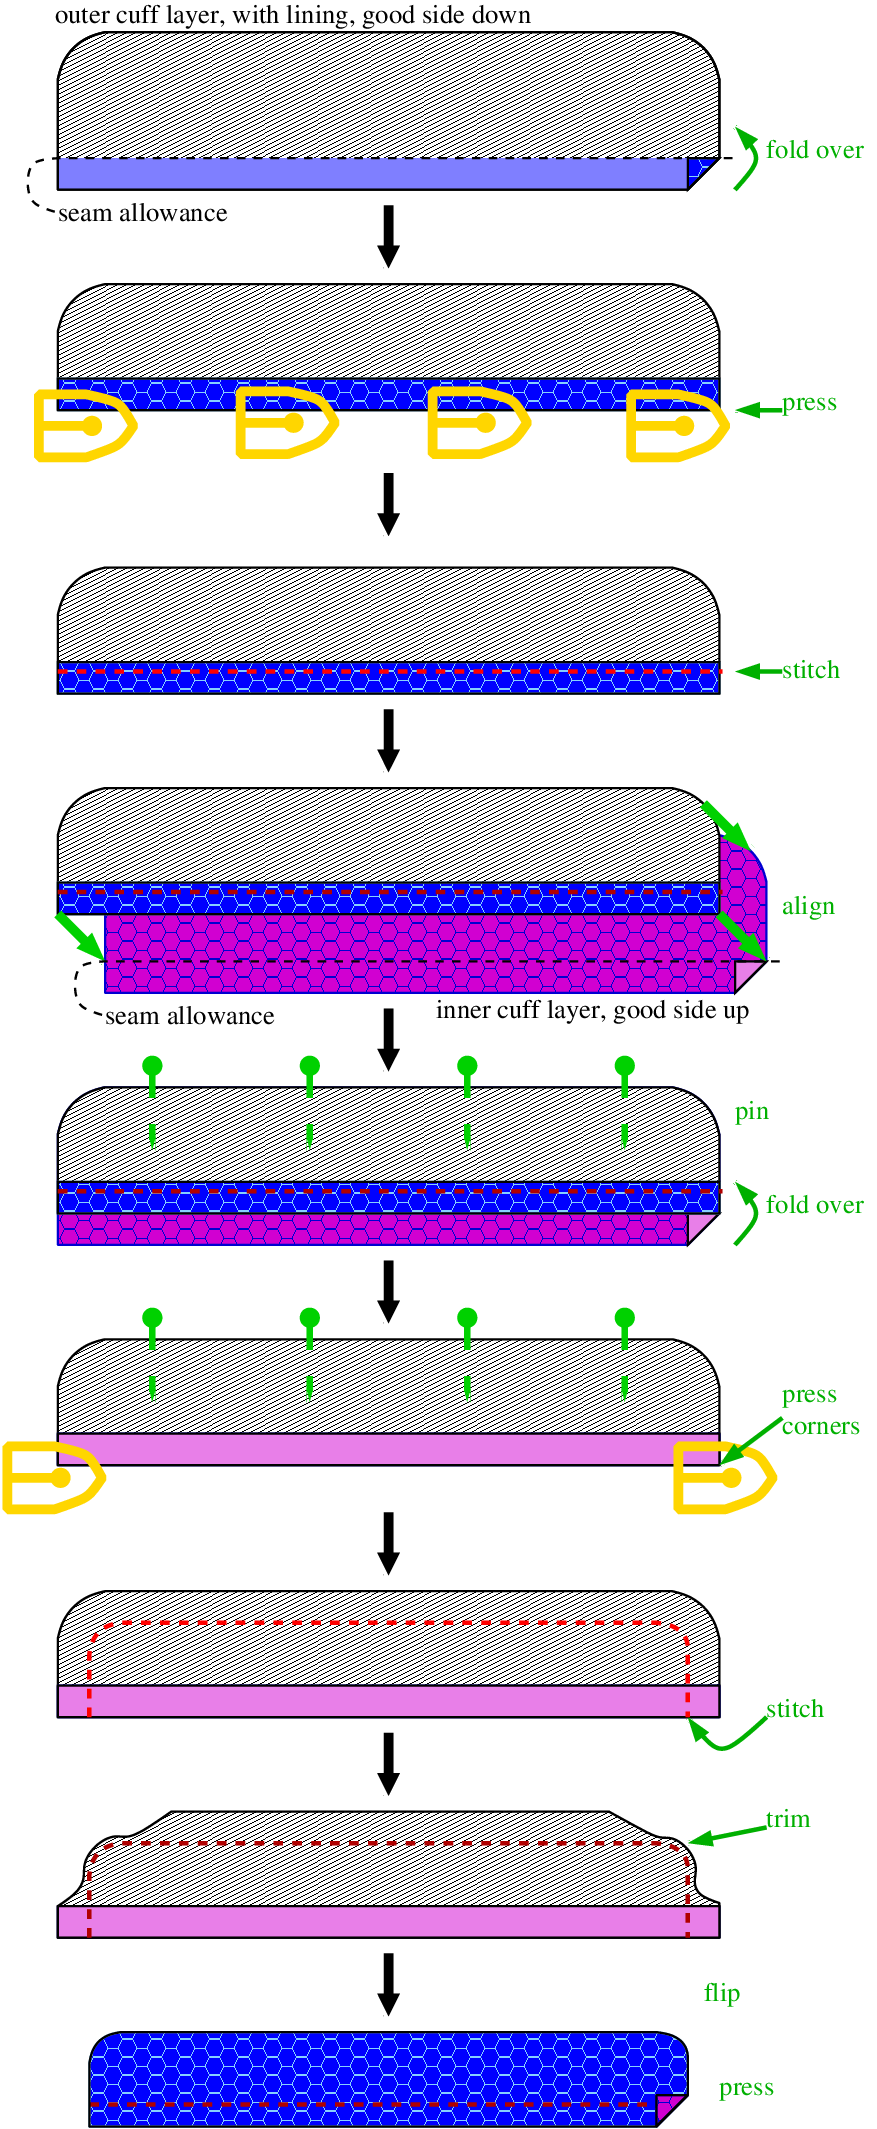
 Put the outer layer good side down.
 Fold over the seam allowance and press.
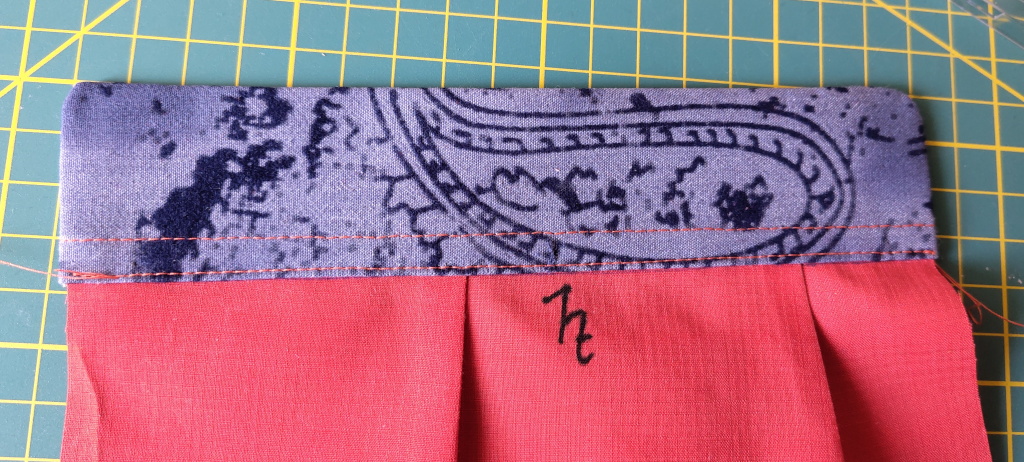
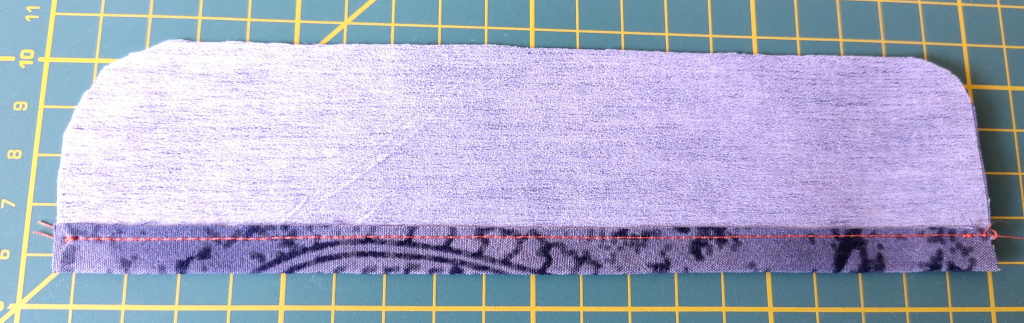 Then stitch this down, as far off the edge as you desire or dare to go.
This is how it is done in the Signum shirts. I don't think this stitching is strictly necessary, but I want to recreate the method closely. This seam will show up as an additional seam on the outside of the cuff, but not on the inside.
And this is also why the seam allowance in the Signum shirts is wider than normal – it allows this seam to be further away from the sleeve seam. It is just a style decision, I think. The demonstration here was done with a regular seam allowance of 10mm, and this seam is about 8mm from the edge.
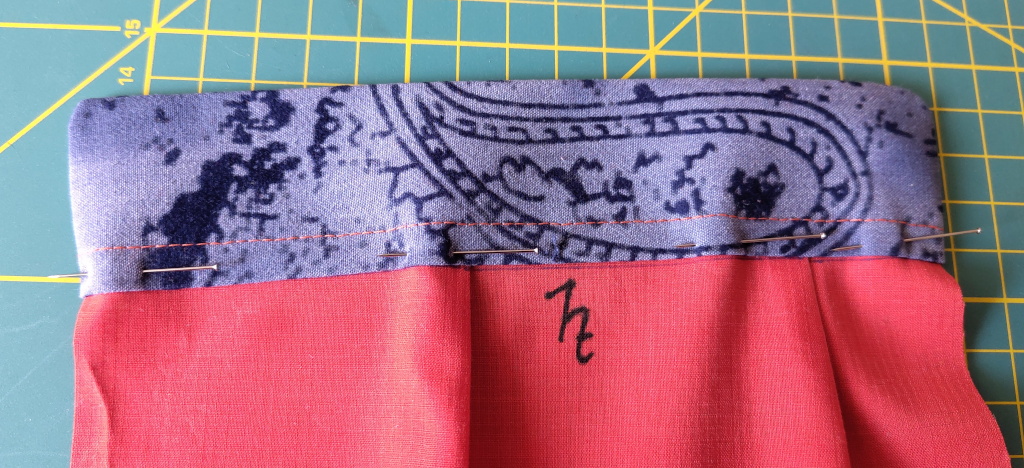
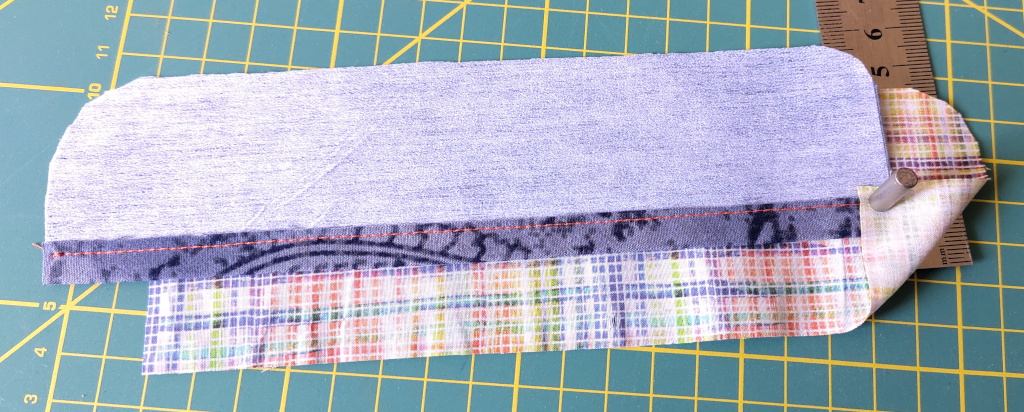 Now place the inner cuff layer good side up, and put it under the outer layer.
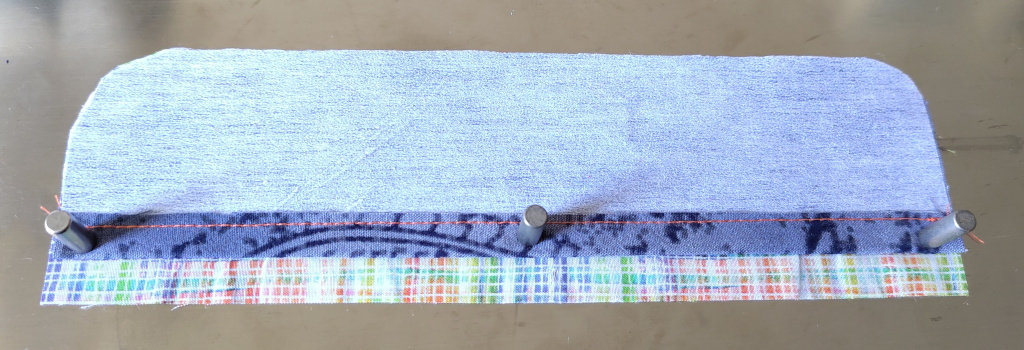 Align the two layers.
I used magnets.
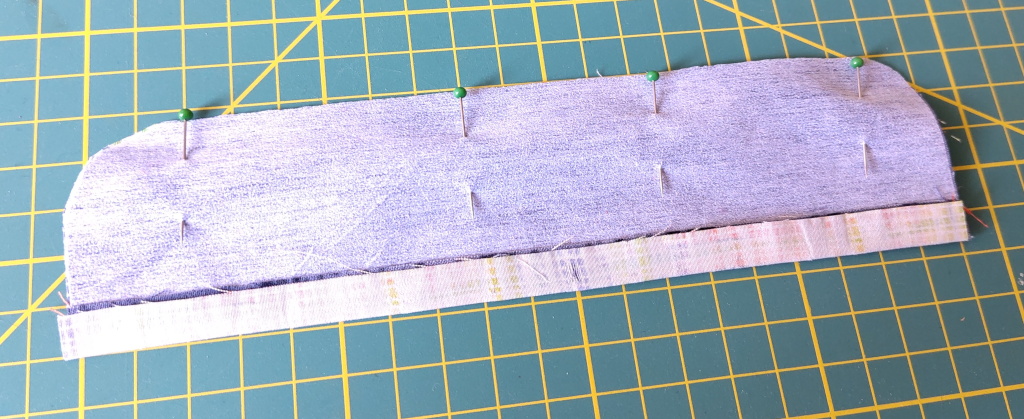
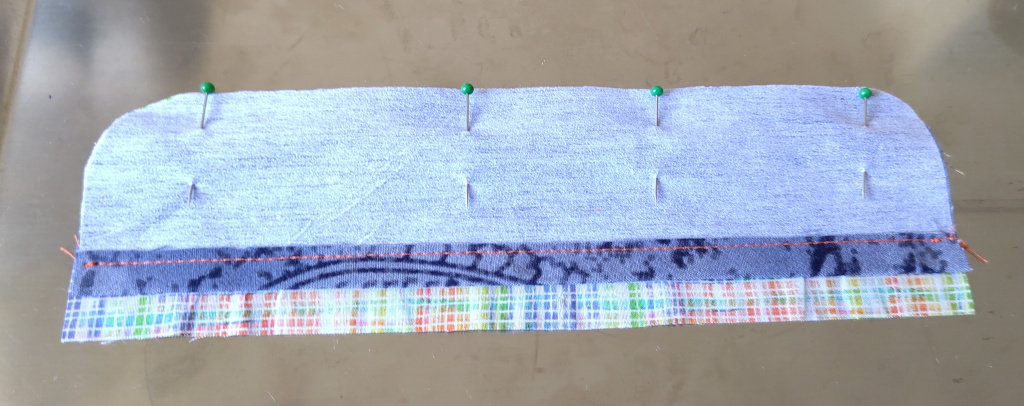 Pin the two layers together
 Then fold over the inner layer's seam allowance and press at the edges.
Don't bother pressing the inner part of this fold, because it will bend the other way later, when the cuff is flipped. Pressing it now will make folding it the opposite way a bit harder. I accidentally did press the complete edge and then later I had to use some water to convince it to bend the other way. It's OK, but some fabrics might not like it too much.
(This is also the step that will cause problems when trying to apply this method to the collar stand. The collar stand is very similarly constructed, but it has the collar sandwiched in between, and that collar will prevent folding the inner layer over at this point.)
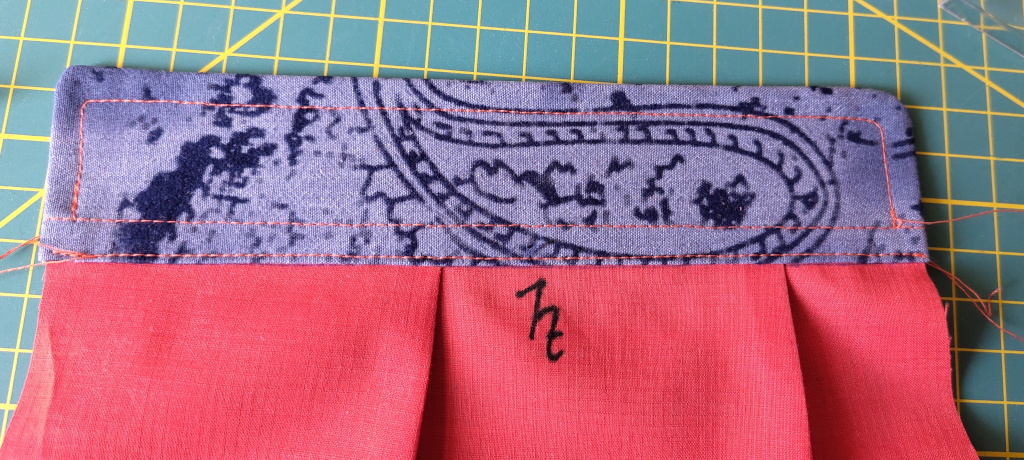
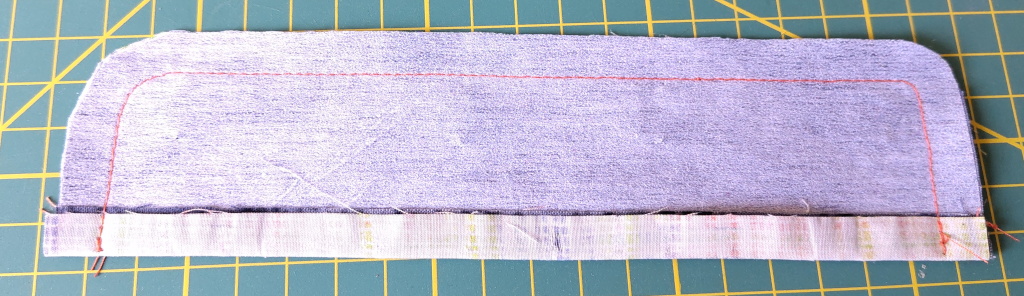 Then sew this together, like you would normally do, just like in the original
instructions, except with the cuff's seam allowance folded over.
Then sew this together, like you would normally do, just like in the original
instructions, except with the cuff's seam allowance folded over.
This is the magic step.
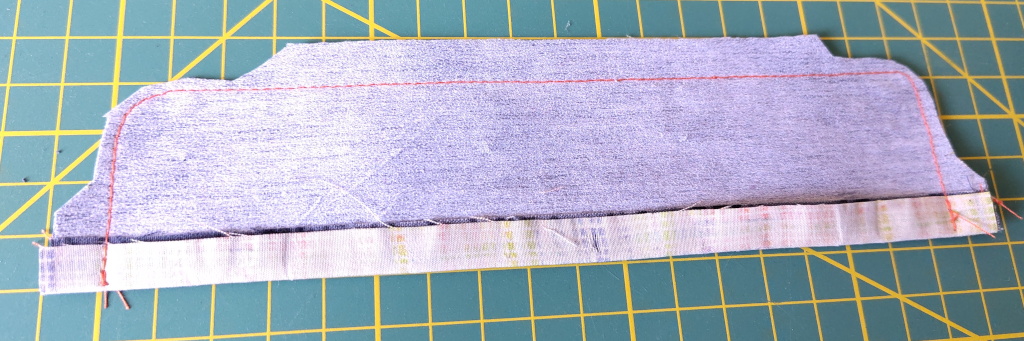 Trim the edges, like you would normally do.
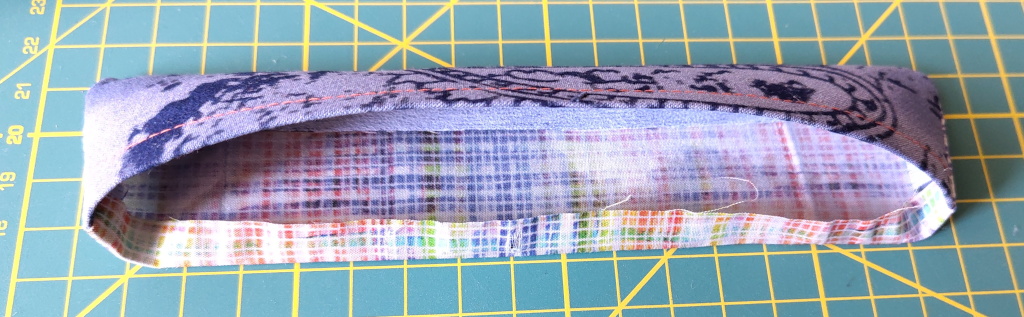 Then flip, and voilà!
The inner layer's seam allowance now needs to be folded in – that's the opposite way it was folded before, by the logic of the flipping.
 Press the cuff, and it is done.
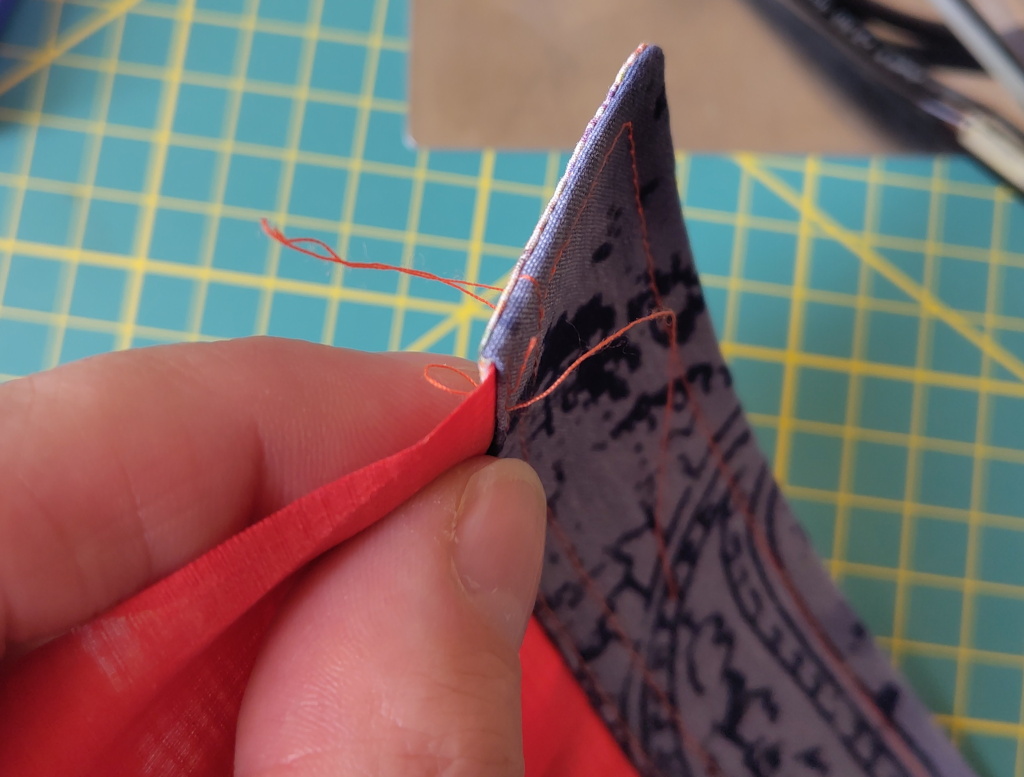
Except it is very clean at the edges now.
 Totally clean closure.
 Very neat and clean.
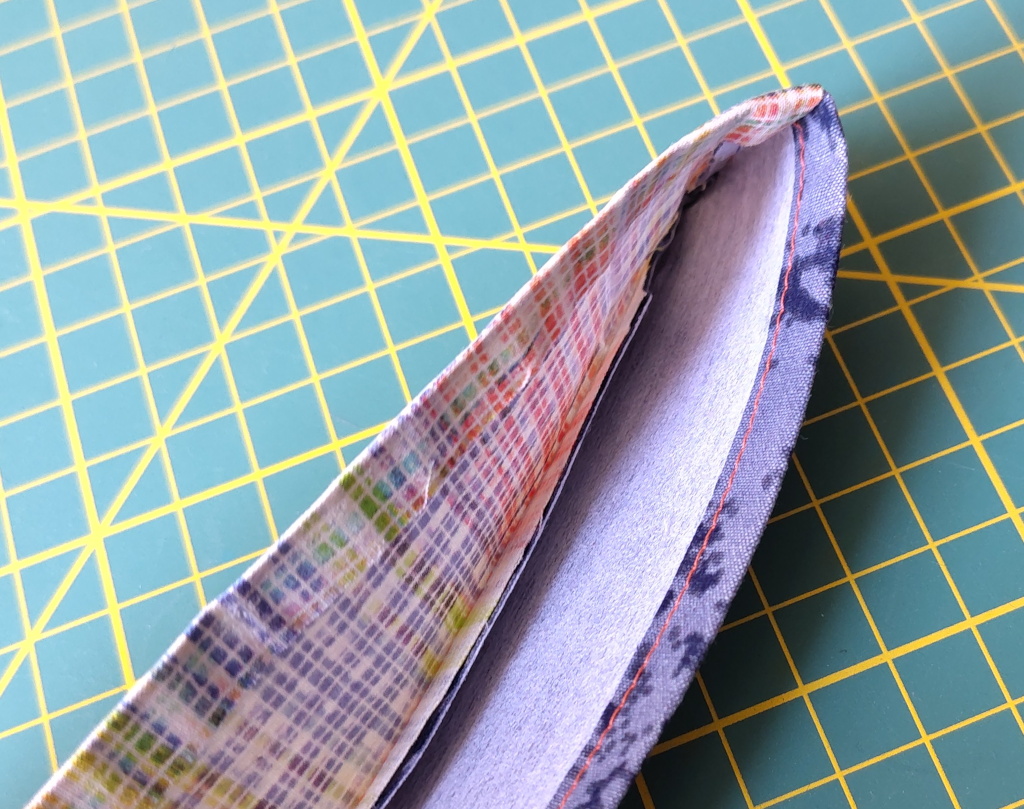 Everything is tucked in and clean.
Note how the outer seam allowance is stitched down while the inner seam allowance is not. It could be done differently, but this is how the disassembled cuff was done.
 Also in the corners: they are clean.
 I don't know what to say.
 Let's attach a mock-up sleeve.
Again, this uses a different colour so everything is clearly distinguishable.
 Sandwich and pin the sleeve into the cuff.
Be sure to pin it such that the inner cuff layer will be caught in the seam when edge stitching this.
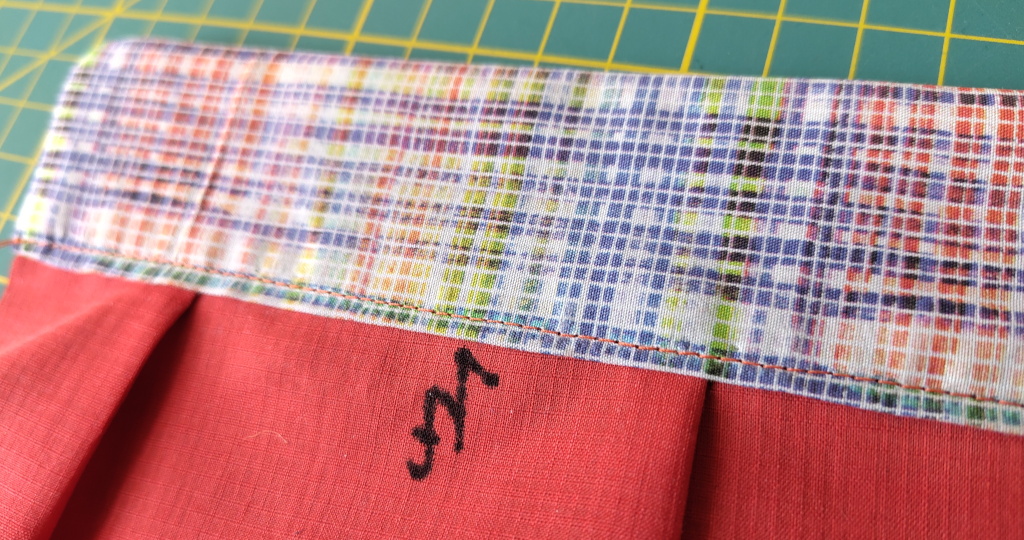
 Then edge stitch it.
The sleeve is now secured to the cuff.
 Another seam is added, probably to prevent the cuff from puffing up
somehow.
Another seam is added, probably to prevent the cuff from puffing up
somehow.
In the disassembled cuffs, this stitching touches the first seam allowance seam, but does not cross it.
Instead of this and the outer cuff layer's seam allowable stitching, I am sure the Simon pattern can be followed instead, which would add another full-turn edge stitch here.
 The sleeve is easily attached to the cuff very cleanly this way.
 This is the backside.
And that's it. I will try this with my second shirt, and I will also try to apply it to the collar stand. Finger's crossed.